Crocheting at Easter is just special. It not only brings color and joy to the house, but also really fun. Especially small projects such as crocheted Easter eggs are perfect to create something beautiful in a short time. Whether as a decoration, a gift or a small souvenir – these colorful eggs immediately conjure up a spring mood.
The great thing about it: You don’t need to be a professional. Even if you are still at the very beginning, you can use simple stitches to conjure up sweet Easter eggs. You practice rounds, color changes and small details – everything is very relaxed at your own pace.
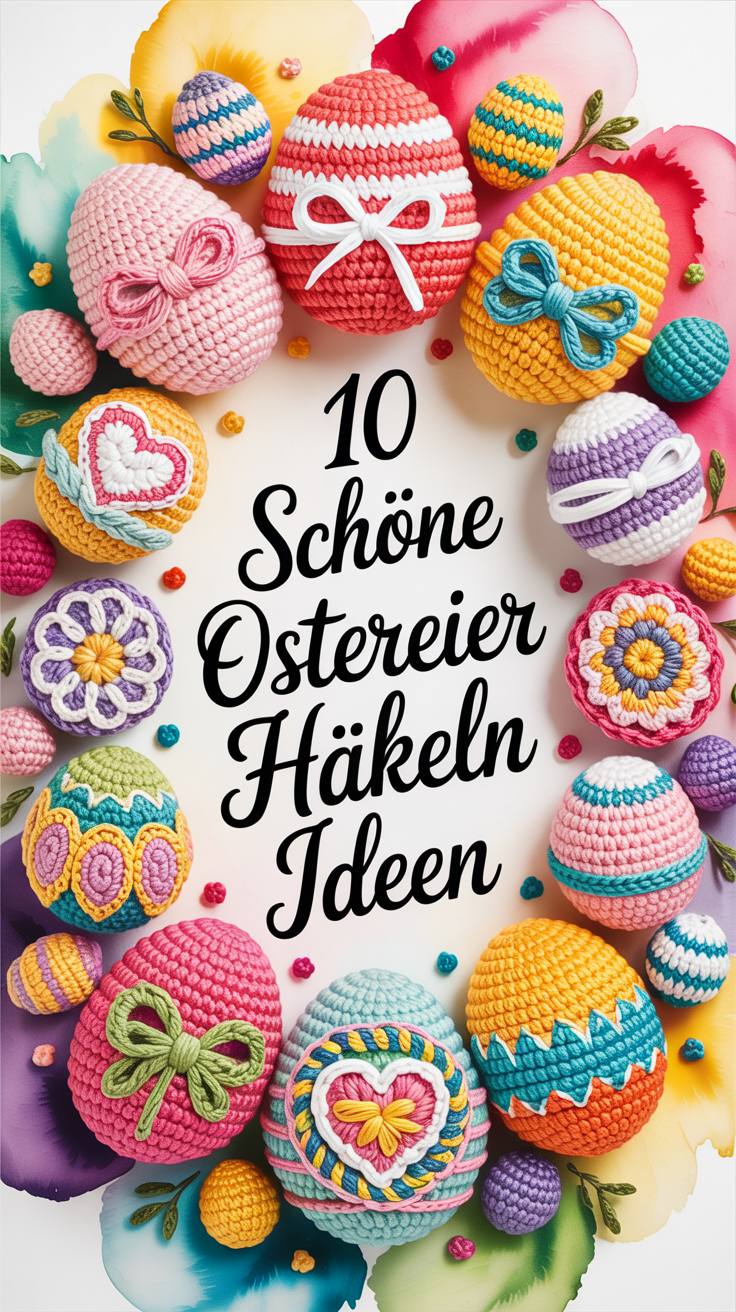
In this post I will show you 10 creative ideas on how to crochet Easter eggs. From classic to playful, with a bow or pattern – there is something for every taste.
Take it easy, pick up your favorite yarn and off you go.
Essential materials for crocheting Easter eggs
You don’t need a lot of equipment for these small projects – just a few well-chosen basics. Here is a clear list of materials for beginners and hobby crocheters:
| 🧶 Material | Description & Benefit | Recommended for |
|---|---|---|
| cotton yarn | Dimensionally stable, lint-free and available in many colors. | All Easter Eggs |
| Crochet Needle (2.5-3.5mm) | Ideal for fine, solid stitches. | Beginner and deco eggs |
| filler cotton | So that the egg stays in shape. | 3D Easter Eggs |
| darning needle | For clean stitching of the threads. | every project |
| Scissors | For clean cuts on the yarn. | always necessary |
| Decoration (optional) | E.g. loop band, buttons or bells. | Decorations & Gift Ideas |
💡 Tip: You can also use leftover wool – especially with colorful eggs, this results in a pretty effect.
10 ideas to crochet beautiful Easter eggs
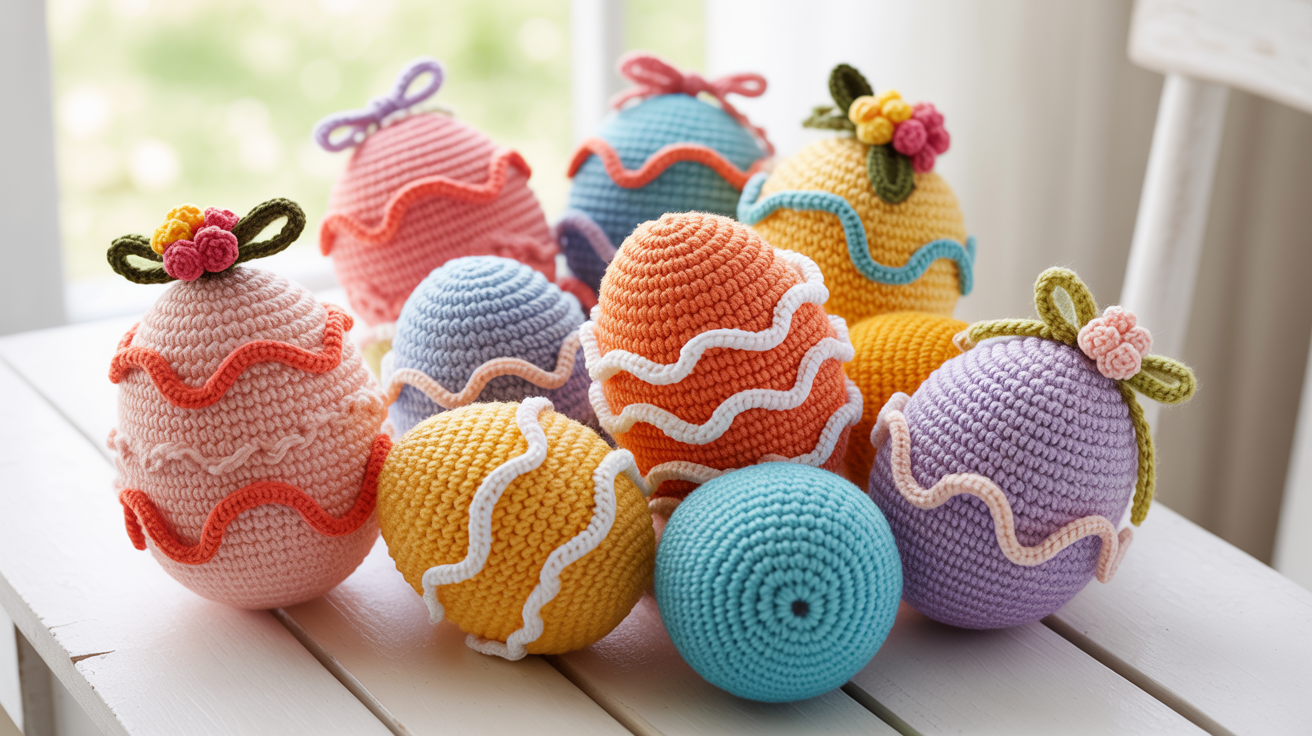
1. Classic Easter Egg in Pastel – Ideal for Beginners

If you’re just starting crocheting, this Easter egg is the perfect exercise. It has a simple shape, repeats itself in the rounds and gives you a good sense of increases and decreases. You will learn how to do slacks in the round and how to clean your first small 3D project cleanly. These eggs are not only pretty, but also perfect for the Easter branch, as a table decoration or a small gift.
Here’s how it works:
- Start with a thread ring and 6 crochet crochet stitches.
- Gain evenly in each round (e.g. every second stitch twice).
- Crochet until the egg reaches its widest point.
- Then remove evenly until the opening is almost closed.
- Fill the egg with a little cotton.
- Close it with a few last stitches and sew the end.
💡 Hint: With pastel-colored cotton yarn, the egg looks particularly delicate and natural.
2. Happy Striped Easter Egg – ideal for practicing color changes
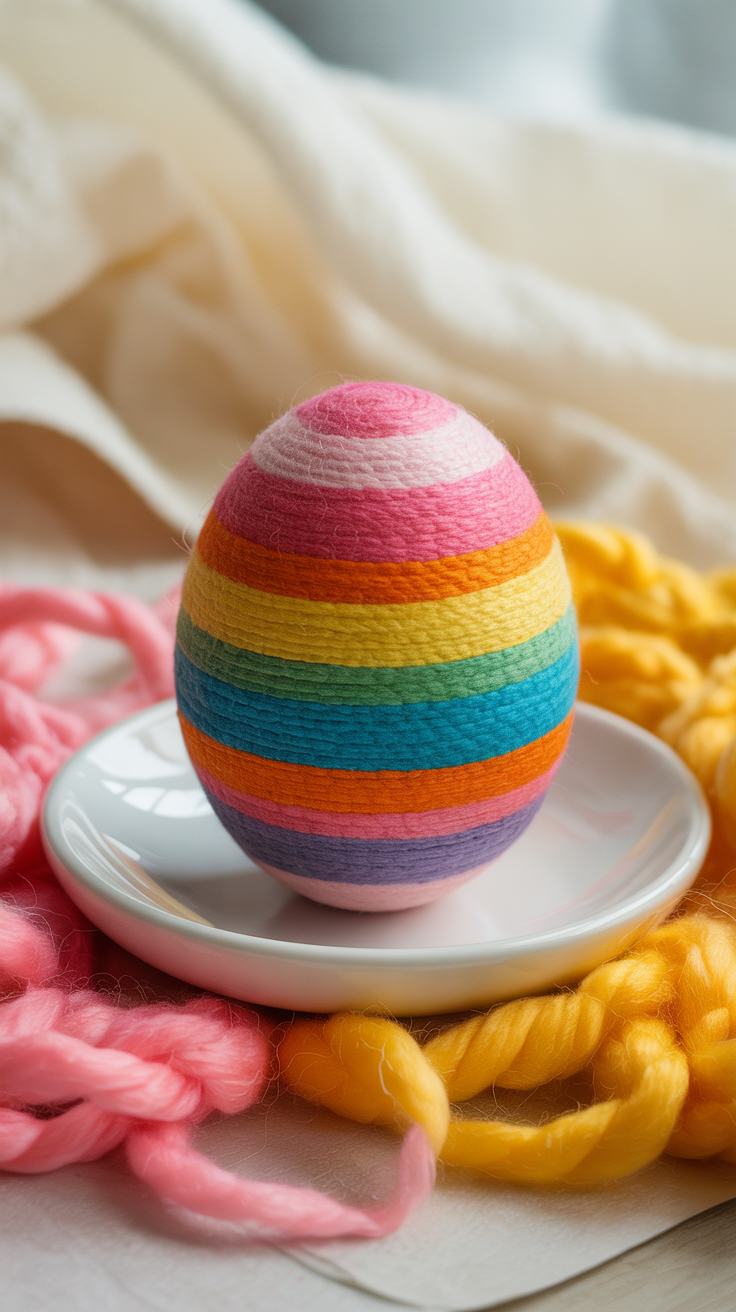
This crocheted egg is the perfect opportunity to practice color change – an important technique if you later want to crochet patterns or multicolored figures. Strips loosen the egg and immediately put you in a good mood. In addition, these eggs are a great way to creatively use small leftover yarn leftovers.
Here’s how it works:
- Crochet a classic egg as described in Idea 1.
- Change the yarn color every 2 rounds.
- Make sure to sew the threads properly on the back or crochet invisibly.
- Fill the egg with cotton wool before closing it.
✨ color idea: Combine 3 colors from the same color family (e.g. mint, turquoise, petrol) for a harmonious result.
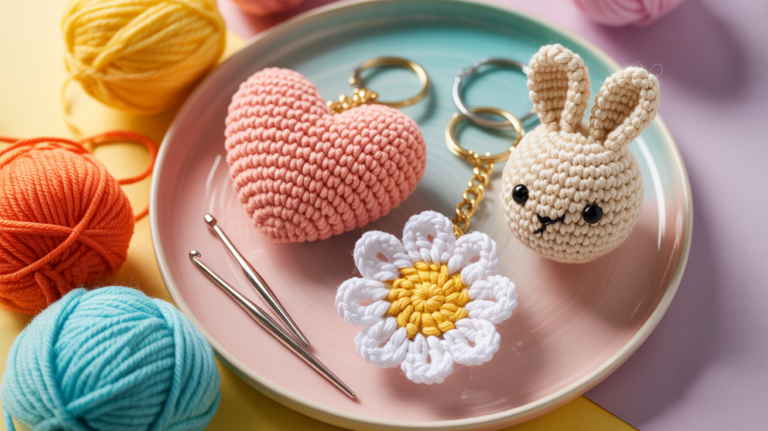
3. Easter egg with heart – small gesture, big effect
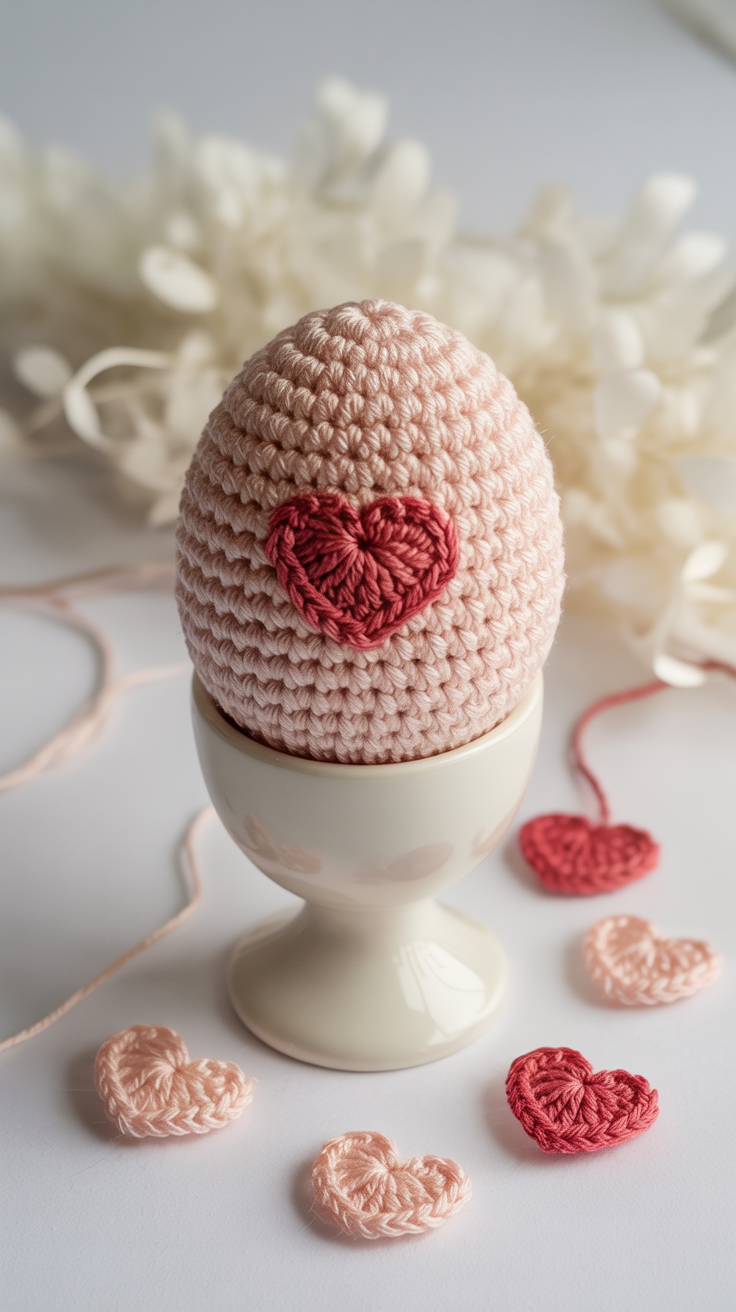
This design is wonderful as a loving DIY gift for special people. The crocheted heart on the egg is made quickly and makes for a sweet surprise – ideal for Valentine’s Day, Mother’s Day or simply as a sign of affection. You can work it in directly when crocheting (inlaid technique) or embroidering it afterwards.
Here’s how it works (embroidered version):
- Crochet a classic Easter egg in plain color.
- Draw the shape of a small heart with pins.
- Embroider with a contrast yarn small heart-shaped chain or backstitches.
- Fill the egg with cotton wool and close it as usual.
💡 Hint: The stick variant is easier for beginners – and you can play creatively with colors.
4. Easter egg with bow – simple, elegant and sweet
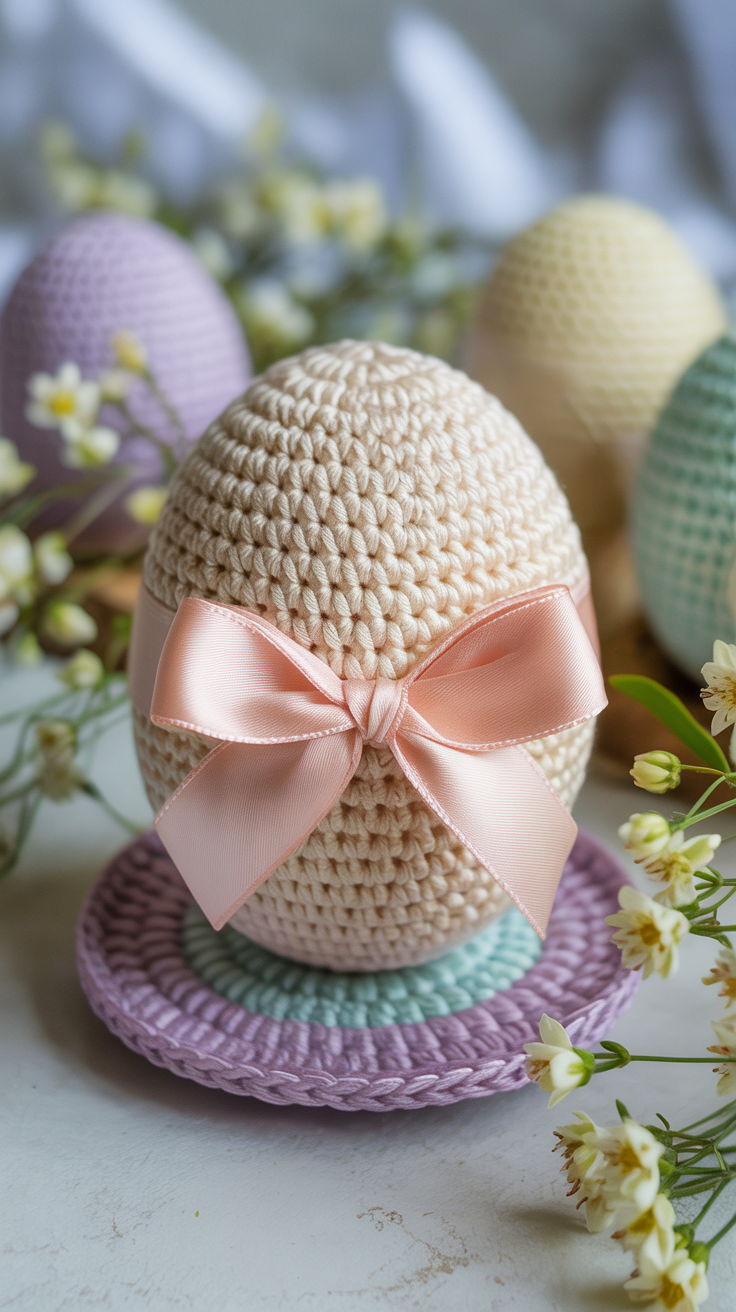
Sometimes a small detail is enough to turn a simple Easter egg into a real decoration highlight. A bow gives your crochet egg a particularly loving touch. This design is perfect for small sets or as a place card at the Easter table. You can tie the satin ribbon, crochet yarn or jute ribbon bow – depending on the style.
Here’s how it works:
- Crochet your egg in a calm color like white, cream or light grey.
- Form a small loop of about 15cm ribbon.
- Sew or glue the loop to the top curve of the ice.
- Optional: Attach a name tag or a small label.
🎀 Hint: You can also sew a small pearl or a button in the middle of the bow – this looks particularly high-quality.
5. Easter egg with embroidery – get your creativity on the yarn
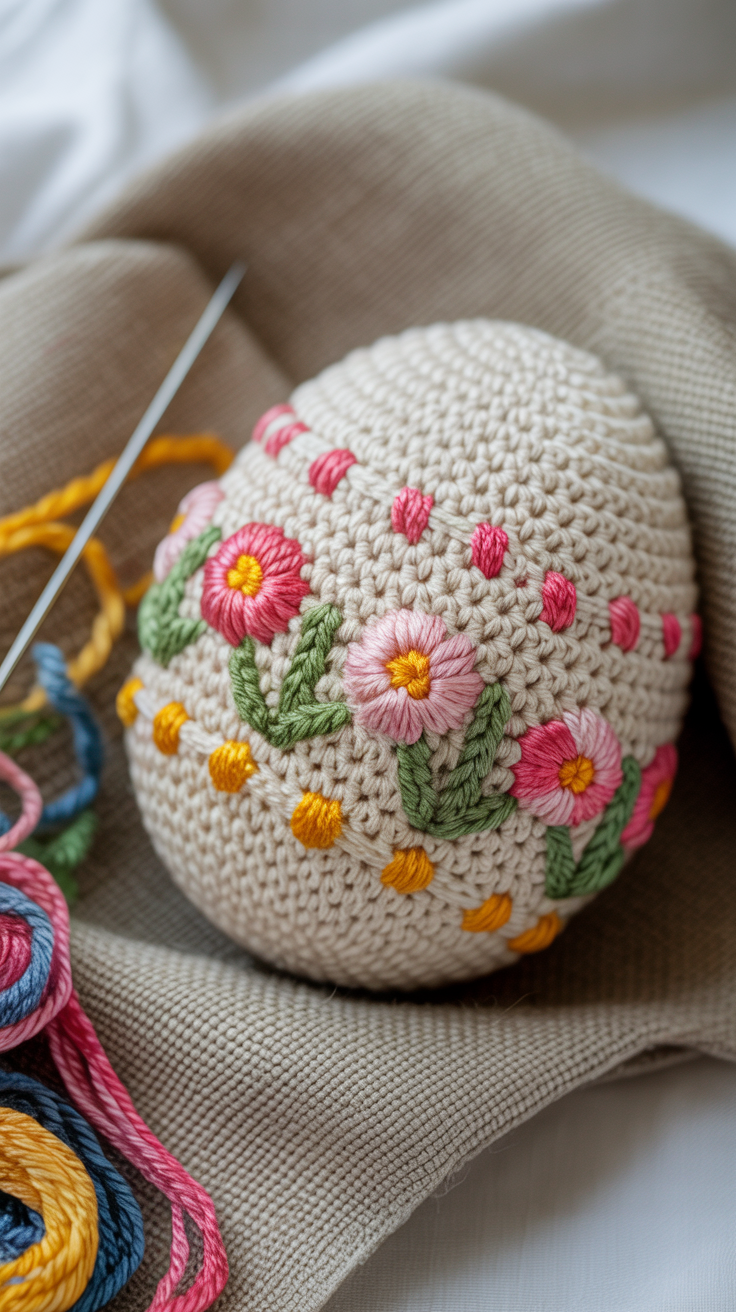
If you want to let off steam creatively, embroidered Easter eggs are just the right thing. You can embroider small flowers, dots, initials or patterns – either by template or completely out of your head. This project combines two handicrafts: crochet and embroidery. The effect on monochrome eggs with thin yarn in contrasting colors is particularly beautiful.
Here’s how it works:
- Crochet your egg in a simple color as usual.
- Prepare embroidery thread in 2-3 colors.
- Embroider with a thin needle small motifs (e.g. cross-stitch flowers, twigs, dots) on the egg.
- Be careful not to prick too deep so that the egg keeps its shape.
🌸 Extra tip: For a romantic look, combine pink, dusky pink and lavender on a white egg.
6. Mandala Style Easter Egg – For those who love patterns
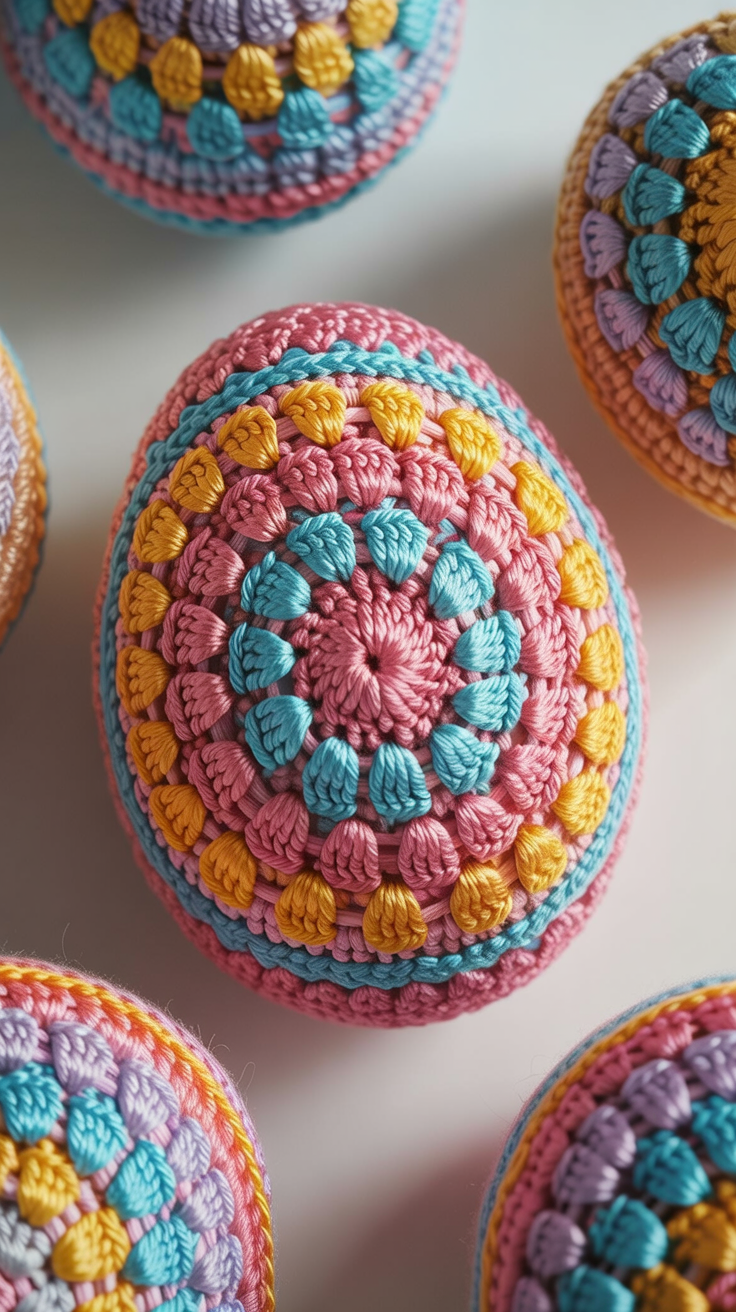
This Easter egg is ideal if you feel like immersing a little bit deeper into crocheting. Mandala patterns look complex at first glance, but mostly consist of simple, repetitive stitch combinations. Here you will learn how structure and rhythm are created and how colors make a pattern look calm or lively. Perfect if you already have a few rounds of experience and want to crochet something special.
Here’s how it works:
- Start with a thread ring and crochet a round of chopsticks.
- Switch between single crochet stitches, chain stitch sheets and chopsticks in the next rounds.
- Work symmetrically to keep the pattern even.
- Crochet the egg up and down as usual.
- Fill it with cotton wool and close it clean.
💡 Tip: Gradient yarn will take your color choice and automatically provide a harmonious mandala effect.
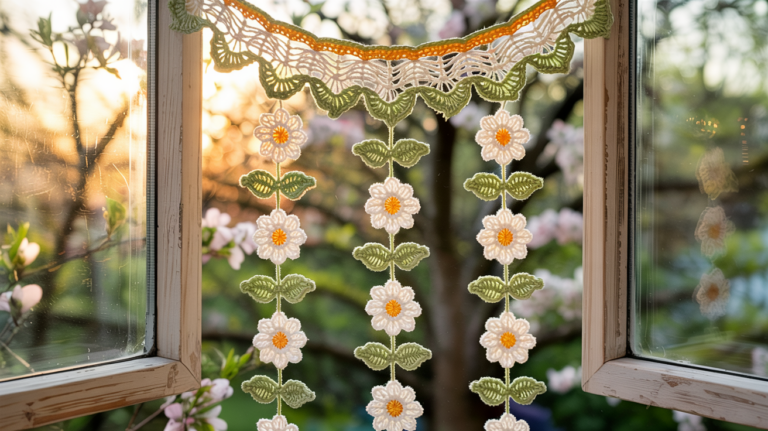
7. Flat Easter eggs for garlands and window decoration

Not every Easter egg has to be three-dimensional. Flat, crocheted eggs are wonderfully light, made quickly and ideal for decorating ideas. They are perfect for garlands, window hangers or as a pendant of gifts. They are also a great project if you have little time or want to crochet several eggs at once.
Here’s how it works:
- Crochet a chain stitch chain as the center axis of the ice.
- Crochet the chain in oval shape with single crochet stitches.
- Work on the curves several stitches in a puncture site.
- Crochet two identical parts and optionally connect them with single stitches.
- Pull in a small loop at the top.
✨ EXTRA: With embroidered dots or small flowers, the eggs look particularly playful.
8. Structured Easter Egg – without any additional decoration
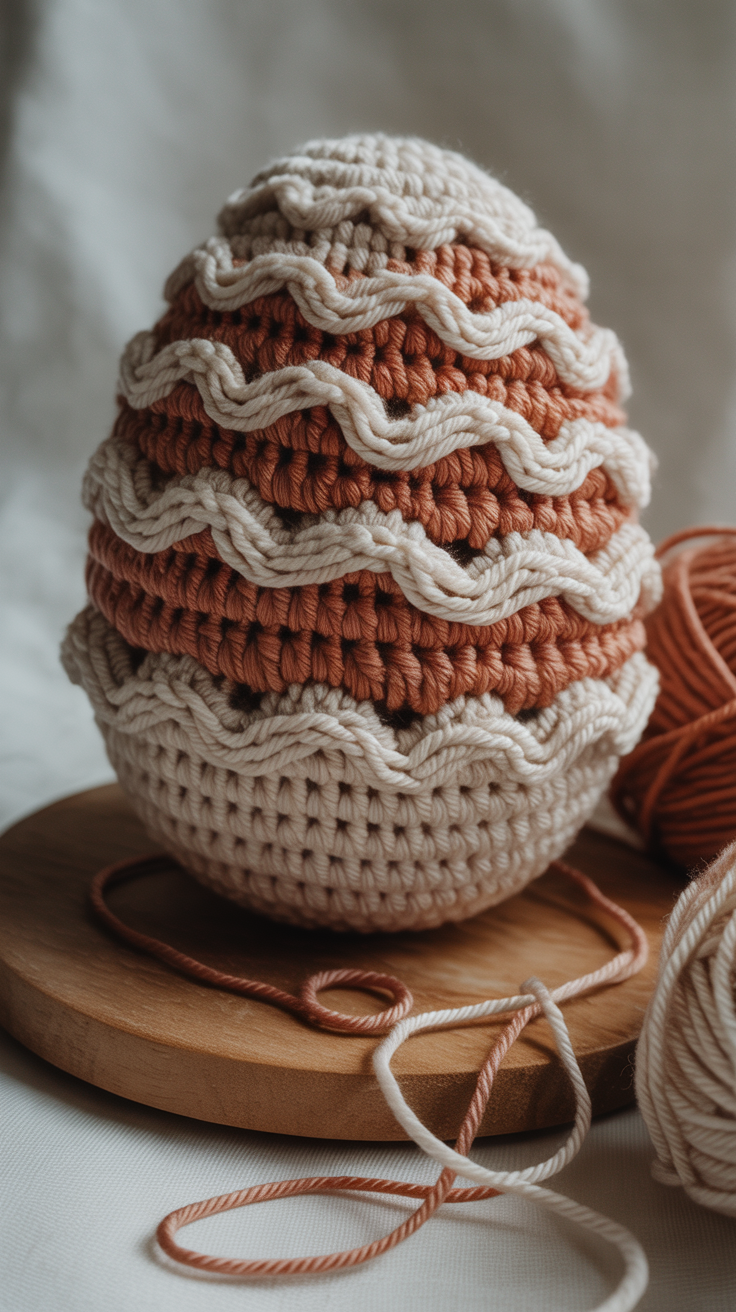
If you like it quiet and classy, this Easter egg is perfect for you. Structural patterns such as relief sticks or tufted stitches add depth to the design without you needing additional colors or embellishments. You will learn how stitches not only design, but also shape the surface.
Here’s how it works:
- Crochet the egg in spiral rounds with single crochet stitches.
- Install relief sticks in every second round.
- Be sure to repeat the pattern evenly.
- Keep the stitch tension constant.
- Fill the egg just before closing.
💡 Tip: natural tones such as beige, cream or sage make the structure look particularly beautiful.
9. Easter egg in the crochet net – natural and decorative

This Easter egg is something very special, because it envelops an egg instead of being one yourself. The net is suitable for real eggs, wooden eggs or small balls. It looks light, natural and goes perfectly with simple Easter decorations. You will learn how to use chain stitches and open patterns here.
Here’s how it works:
- Crochet a ring of chain stitches.
- Work rounds from single crochet stitches and chain stitch sheets.
- Easily enlarge the net down.
- Pull it over an egg or a bullet.
- Pull up with a ribbon or a cord at the top.
🌱 Extra: With jute yarn or unbleached cotton, the net looks particularly natural.
10. Mini Easter Eggs as a Pendant – Quickly Made and Versatile
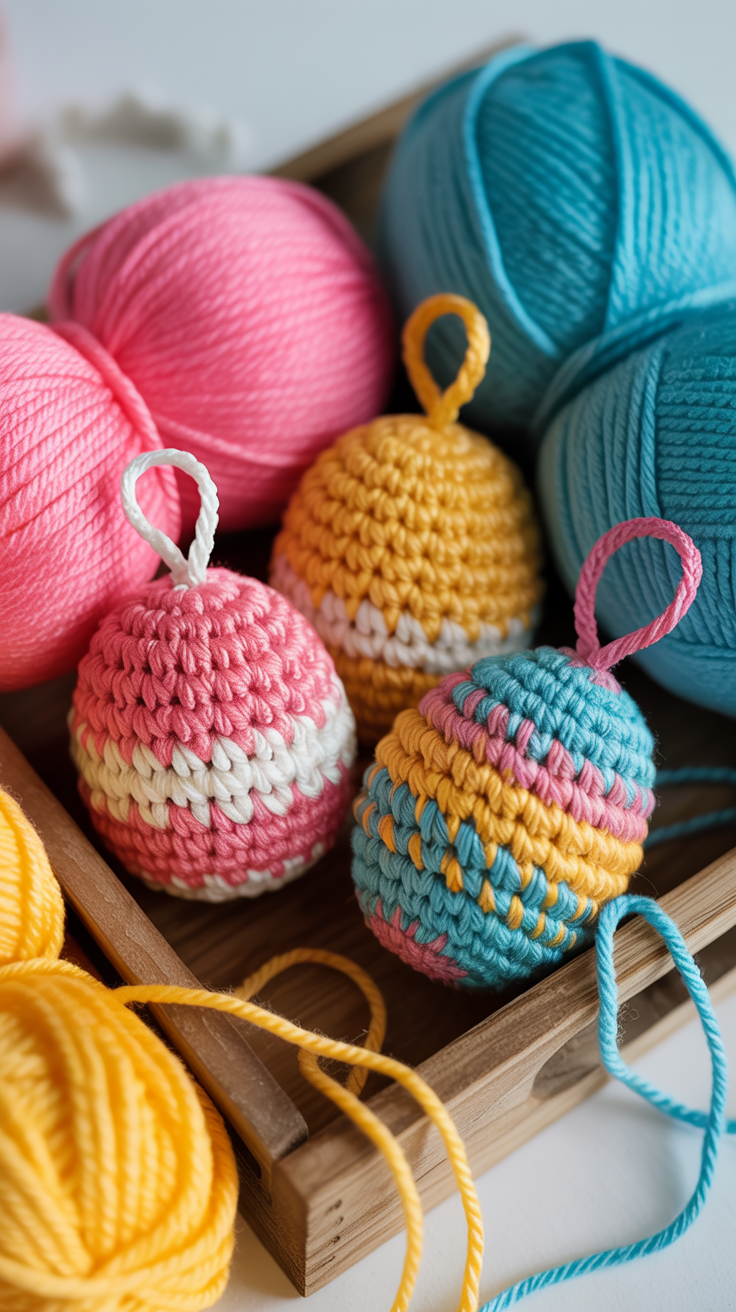
These little Easter eggs are perfect if you are looking for a quick sense of achievement. They are ready in a few minutes and can be combined wonderfully. As a pendant on the Easter branch, as a gift decoration or a little attention, they really make something. They are also ideal for using yarn residues sensibly.
Here’s how it works:
- Start with 4 single crochet stitches in the yarn ring.
- Crochet 1 to 2 rounds of increases.
- Just work up a few rounds.
- Fill the egg minimally or leave it unfilled.
- Pull in a thread to hang up.
💡 Tip: glossy or glitter yarn sets small highlights between plain eggs.
Common Easter egg mistakes – and how to avoid them
Especially with small crochet projects such as Easter eggs, every detail is quickly noticeable. All the better when you know what to look out for – especially as a beginner. Here you will find the most common mistakes and simple solutions that are guaranteed to make your crocheted eggs.
1. The egg becomes crooked or misshapen
➜ What’s the point?
Increases or decreases were distributed irregularly – or you crocheted one lap too much or too little.
➜ This is how it works better:
Count your stitches regularly. It is best to mark the beginning of the round with a stitch marker. Consequence of a clear order: first increase, then remove even rounds, then cleanly.
💡 Tip: Crochet the upper and lower curves symmetrically – this way the egg looks even.
2. The color change looks unclean
➜ What’s the point?
The new thread was incorporated in the middle of the round or attached too loosely.
➜ This is how it works better:
Always change the color at the beginning of a round. Pull the new thread tightly when inserting and sew the ends directly so that nothing sticks out.
💡 Tip: Use a blunt needle to pull in – this looks cleaner than loose ends.
3. The filling is too loose or too hard
➜ What’s the point?
Too little filling material makes the egg look wrinkled, too much stretches the stitches unevenly.
➜ This is how it works better:
Use small amounts of filler and shape with your fingers before putting them in the egg. Puff the egg carefully and evenly – preferably with a wooden stick or a pen.
💡 Tip: The smaller the egg, the finer and looser you should choose the filling.
4. The shape ‘tips’ after closing
➜ What’s the point?
When closing, the last stitches were crocheted too tightly or irregularly.
➜ This is how it works better:
Reduce the last rounds evenly and close with a fine slip stitch. Gently pull the thread through the last stitches instead of crocheting too hard.
💡 Tip: If your egg ends up too pointed, you’ve crocheted too many rounds – just finish earlier.
5. The egg loses its shape after washing
➜ What’s the point?
You have used an elastic yarn or synthetic material that is not dimensionally stable.
➜ This is how it works better:
Choose pure cotton yarn – it remains mold-resistant after washing and is robust. Only wash the eggs by hand, gently squeeze them out and let them air dry.
💡 Extra tip: After washing, you can reshape the egg with a little filling and let it dry flat.
Crochet beautiful Easter eggs – creative, relaxed and full of spring joy
Crocheting Easter is more than just a pretty decoration idea. It’s a little creative break, where you create something special with just a few stitches. Whether in a classic pastel, with colorful stripes, small bows or playful patterns – with a little yarn and patience you can conjure up your very personal Easter highlights in no time at all.
Especially nice about these small projects: They can be designed individually, are made quickly and bring color to your home. You can hang them on branches, use them as a gift or use them to upgrade your Easter decorations – just as you like.
Just try out which variant you enjoy the most. Because with these Beautiful Easter Eggs Crochet Ideas Not only pretty decorative objects are created, but also many small moments of happiness when making.