I like to sit on the sofa with a blanket in the afternoon. There I always crochet new ideas in a relaxed atmosphere. In this post I share tips and instructions for anyone who would like to crochet a blanket. You get ten creative suggestions for different patterns and techniques. They are suitable for beginners and experienced. Each suggestion contains material information and step-by-step instructions. So you quickly find an idea that suits your style or space. Let’s start right away and work comfortably on your next blanket.
These basic techniques are used
The basis in many projects is the chain mesh. It creates the necessary distance between the stitches and defines the basic chain. I often build on this with chopsticks and single crochet stitches to achieve stability.
When changing the color, I put on the last stitch in a row with the new sound. This creates clean transitions. I knot the threads at the end and pull them through adjacent stitches so that they disappear invisibly.
I use relief sticks or shell groups for structure-rich patterns. They add depth to the ceiling. The technique can be used in rows or circular tracks depending on the desired effect.
10 Beautiful Blanket Crochet Ideas
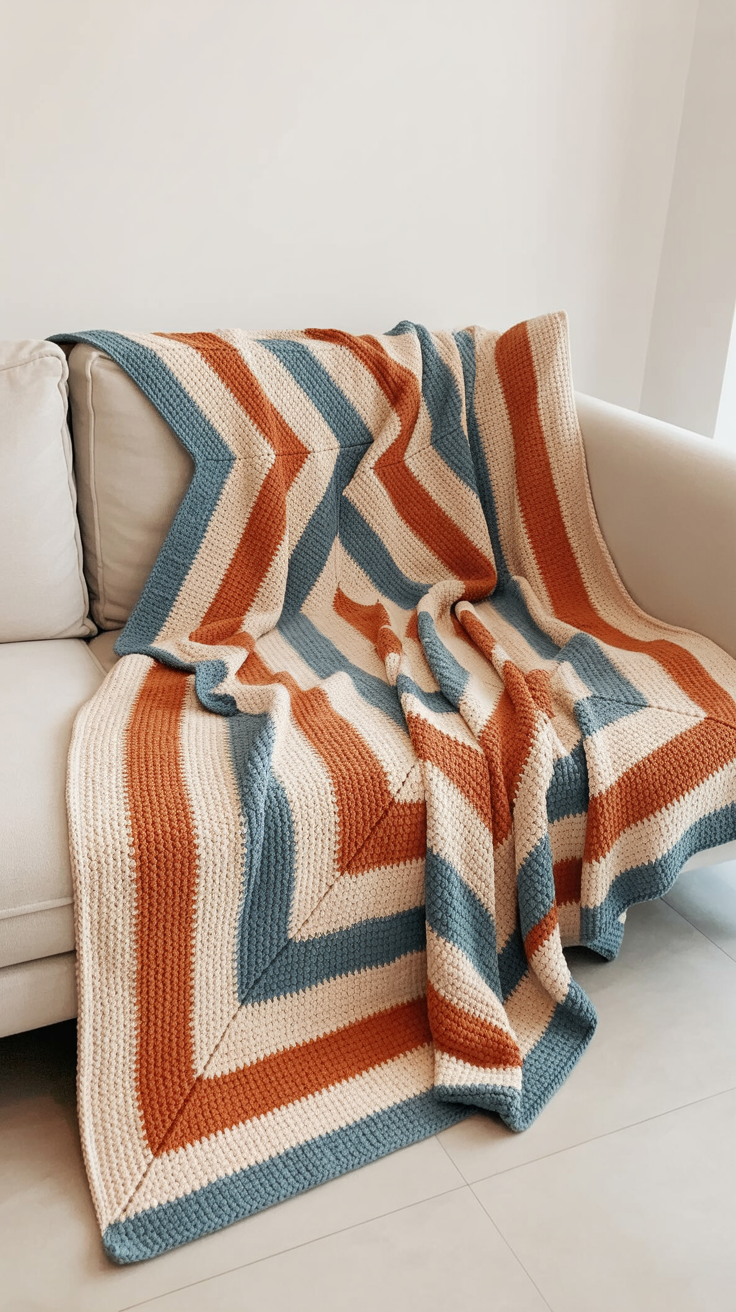
1. Colorful Stripe Blanket
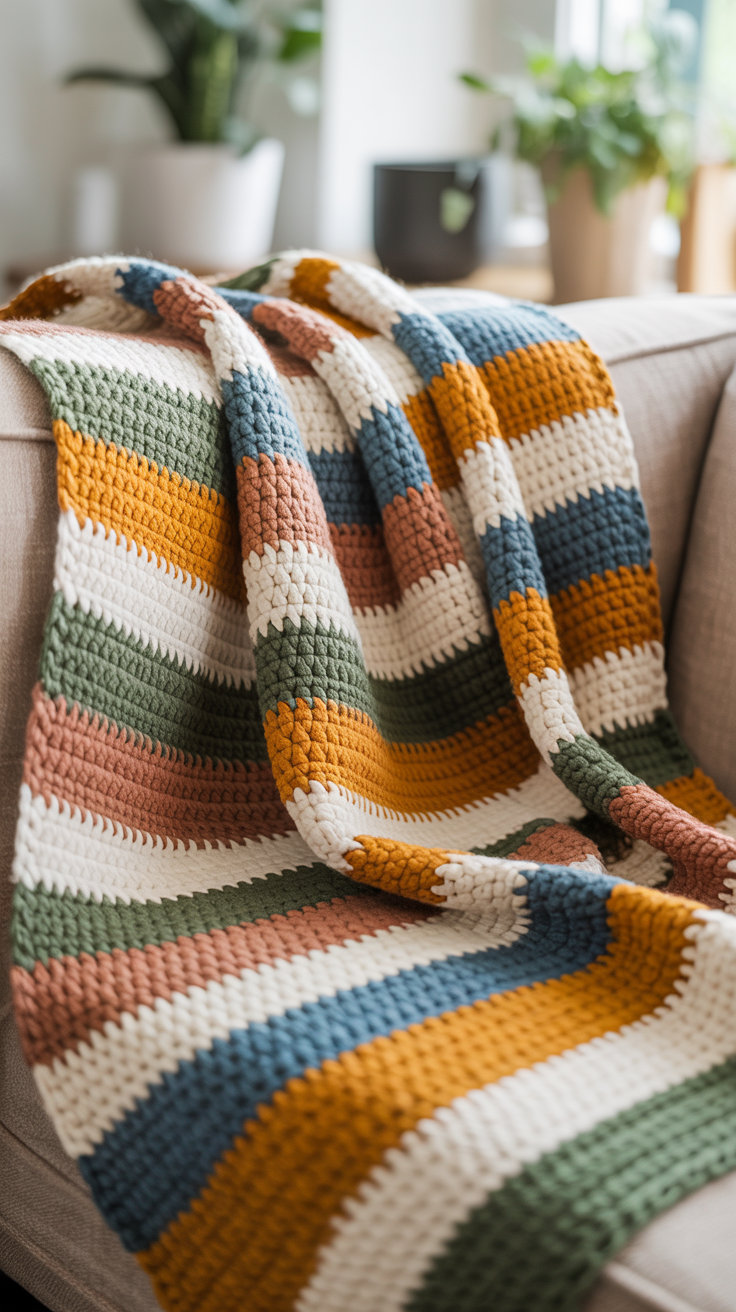
Color can be used with a striped ceiling. Each row gets a new tone, so the ceiling looks lively and structured. You adjust the width and color sequence of the furnishings and create a modern highlight.
Required materials:
- Cotton yarn in three to five colors
- Crochet needle to match the yarn thickness
- Scissors
Here’s how you implement it:
- Start with a chain stitch chain in the desired width.
- Work each row in a different color than sticks.
- Switch to the end of the row by making the last envelope and pulling through with the new color.
Change the colors regularly and make sure you have an even stitch pattern. Wider stripes offer calm in design. If you want fine stripes, shorten the strip length accordingly.
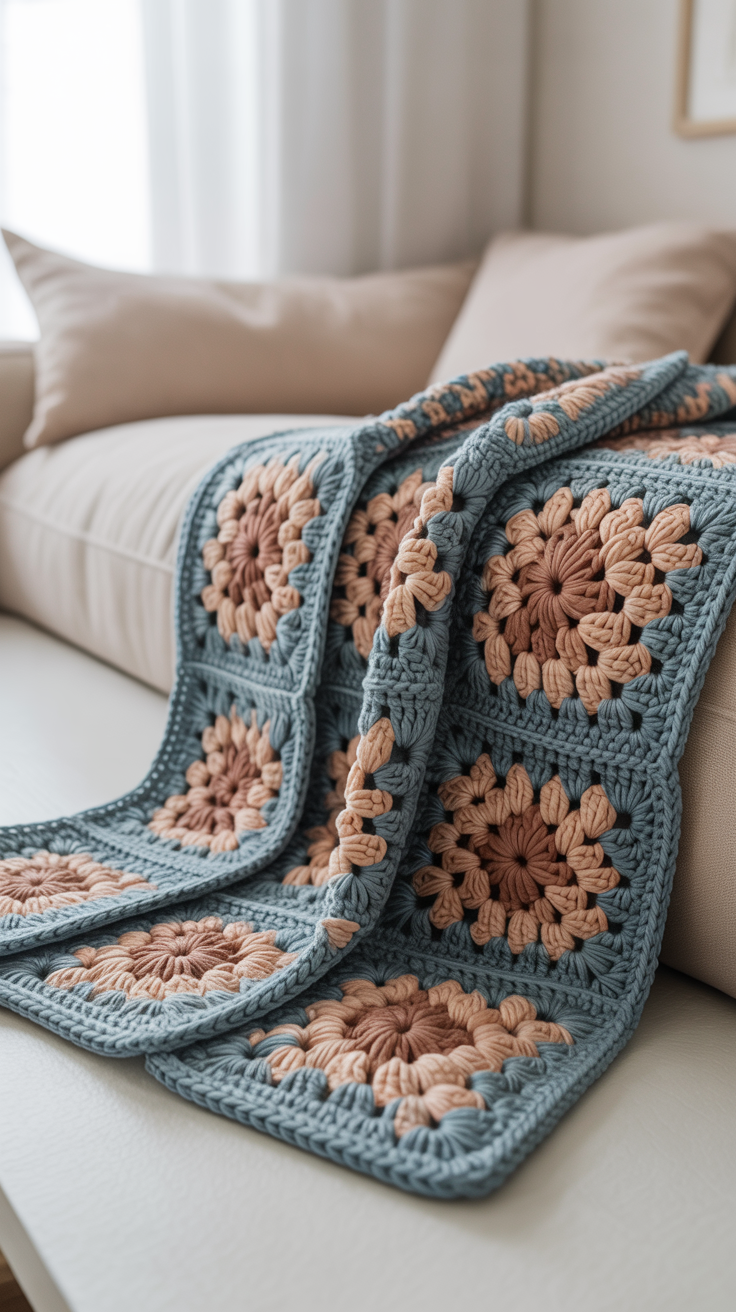
2. Classic Granny Square Blanket
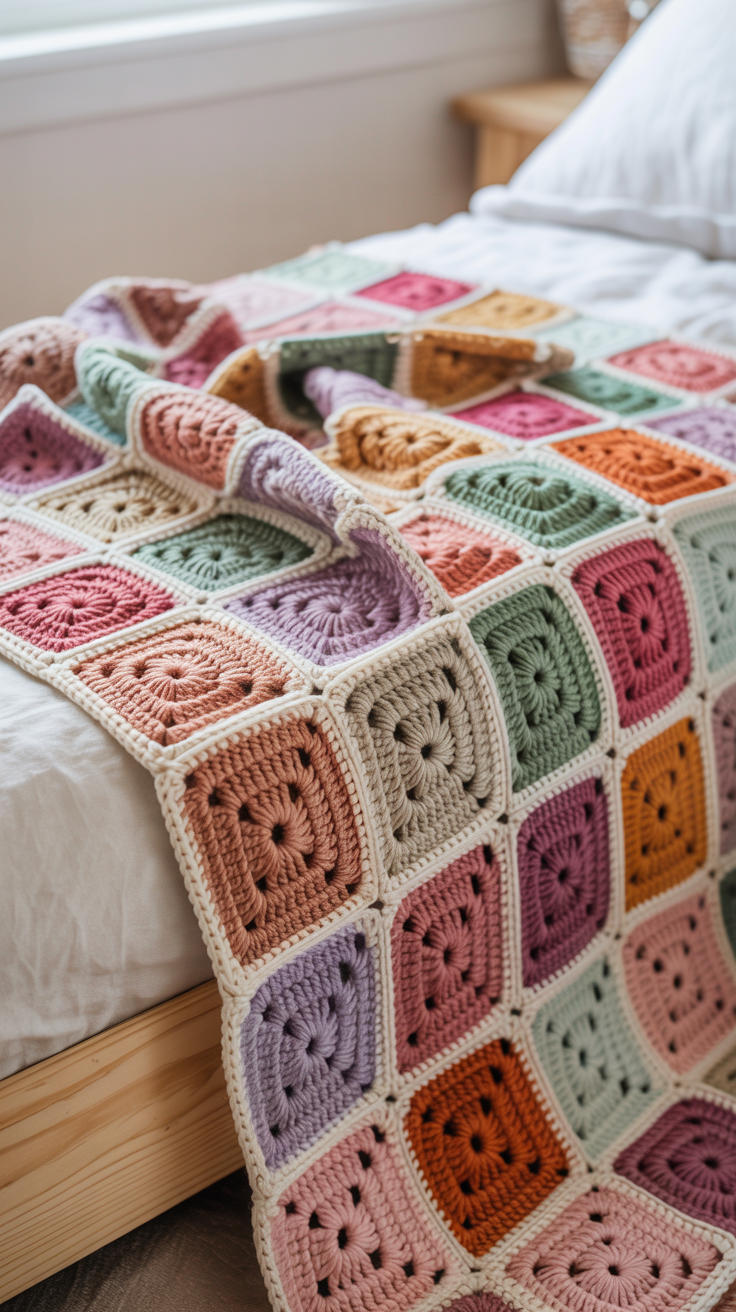
Granny Squares are timeless. Individual squares emerge quickly. Later you put them together to form a large blanket. With different colors you create a diverse overall picture.
Required materials:
- Cotton or acrylic yarn in several colors
- Crochet needle according to the yarn
- sewing needle
Here’s how you implement it:
- Crochet a Magic Ring and 3 chain stitches to replace the first stick.
- Work 3 sticks, 2 chain stitches in the ring, repeat this five times.
- Finish the round with a slip stitch, change color.
The arrangement and number of squares can vary depending on the size you want. For a stable edge, crochet all the squares again with chopsticks after putting them together.
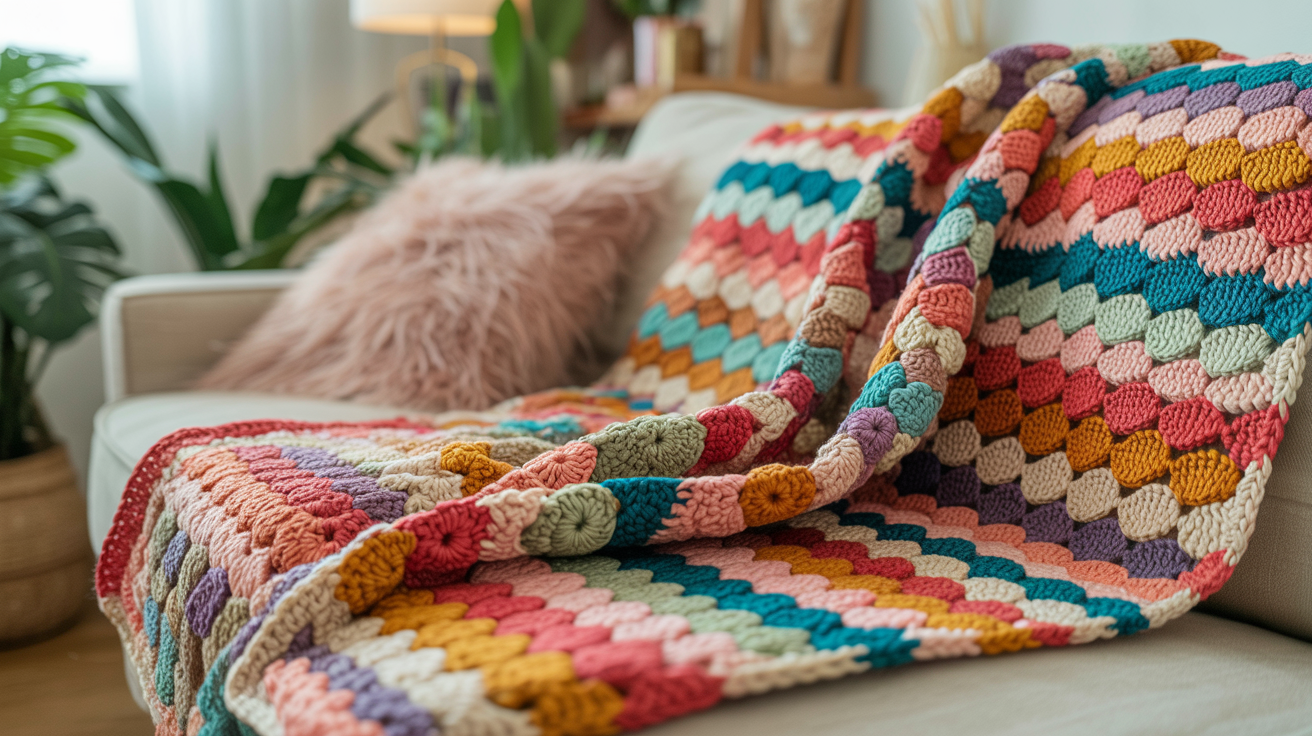
3. Wave Pattern Ceiling
A wave pattern gives a ceiling dynamics. The wavy rows appear gentle and lively. You combine two colors or stick to one for a subtle effect.
Required materials:
- Polyacrylic or wool yarn in two colors
- Crochet needle in matching thickness
- scissors and sewing needle
Here’s how you implement it:
- Start with a chain stitch chain in multiples of 14 plus 2.
- Work in single crochet stitches and chopsticks according to the classic wave pattern sequence.
- Change color after each row by working the last envelope with the new color.
Make sure that the shafts remain clear. If necessary, you can add an additional row of chopsticks to the pattern.
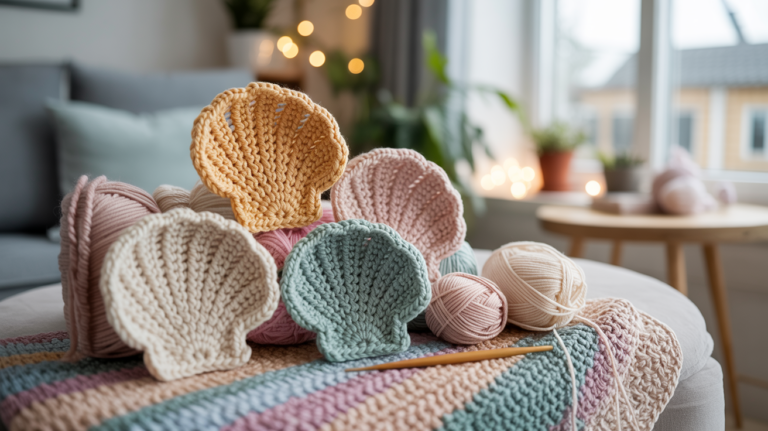
4. Shell Pattern Blanket
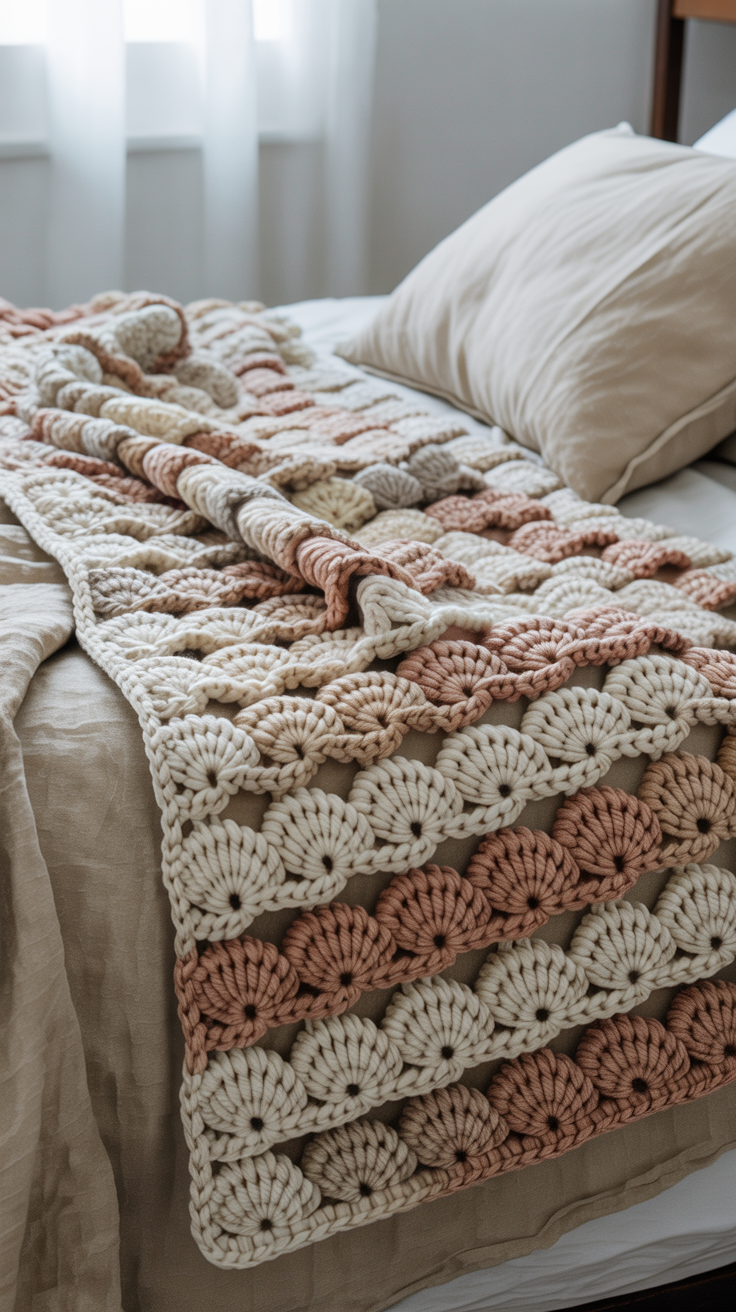
Shells create a playful relief. The regular semicircles give structure. With a neutral color, an elegant result is created.
Required materials:
- cotton yarn or mixed yarn
- Crochet needle to match the thickness
- Scissors
Here’s how you implement it:
- Start with a chain stitch chain in multiples of 6 plus 1.
- Work in crochet stitches and a sequence of 5 chopsticks in a stitch.
- Run each mussel set in the middle of the previous mussel.
Vary the size of the mussels by changing the number of sticks. For a delicate effect, use a thin yarn and adjust the needle size.
5. Waffle Pattern Blanket
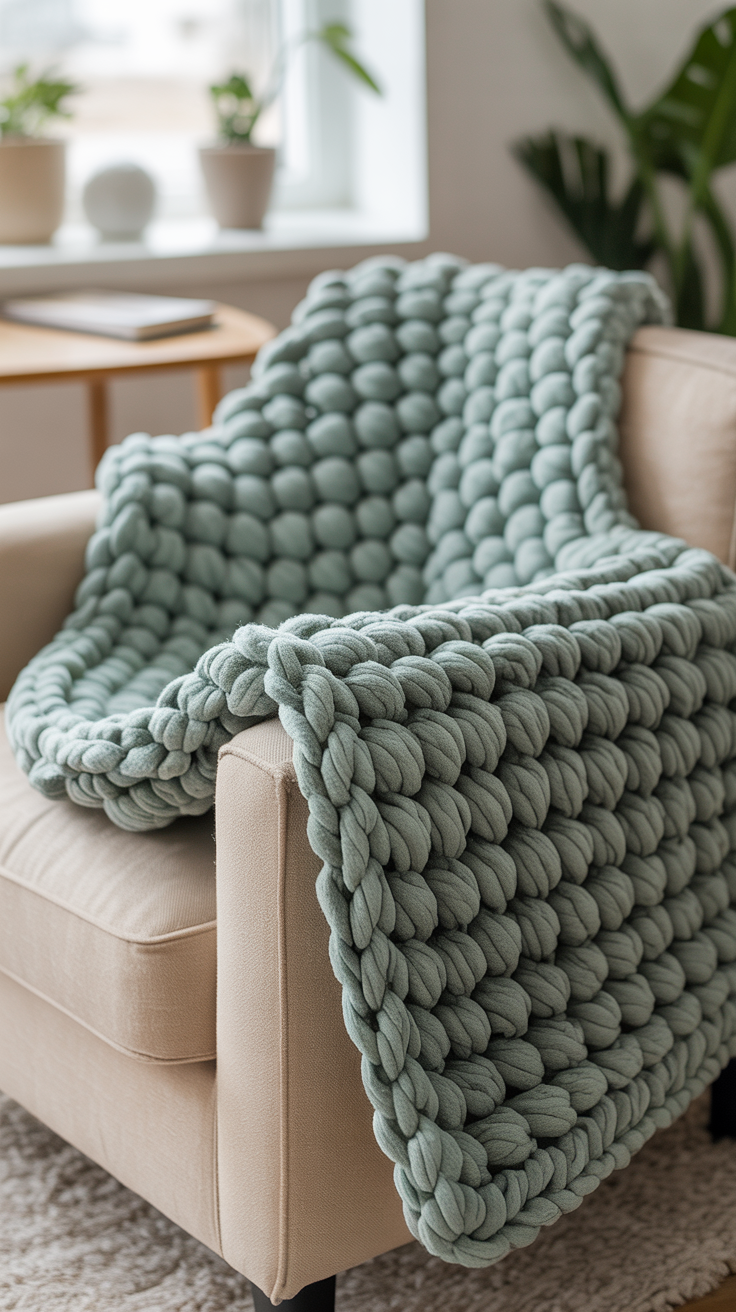
The waffle pattern creates a dense, warming fabric. The structure is reminiscent of plastering technology. It is ideal for cozy winter blankets.
Required materials:
- medium strength wool yarn
- crochet needle accordingly
- scissors and sewing needle
Here’s how you implement it:
- Start with a chain stitch chain in the desired width.
- Switch between rods and relief sticks in front of and behind work.
- Increase the structure with two relief sticks per block.
You can work with two colors and alternately highlight the blocks. Block rows can be distinguished in color and emphasize the waffle look.
6. Chevron Pattern Blanket
A chevron pattern is characterized by rows of zigzags. The lace crossing gives the fabric a clear line. Ideal for modern living concepts.
Required materials:
- Acrylic or cotton yarn in two contrasting colors
- Crochet needle to match the yarn thickness
- Scissors
Here’s how you implement it:
- Make a chain chain in multiples plus two stitches.
- Work single crochet stitches into each gap and raise two stitches in the tips.
- In the valleys you drop stitches and skip them.
You determine the strength of the zigzag by the number of chain stitches. Try a pattern scarf in advance to set width and depth.
7. Popcorn Pattern Blanket
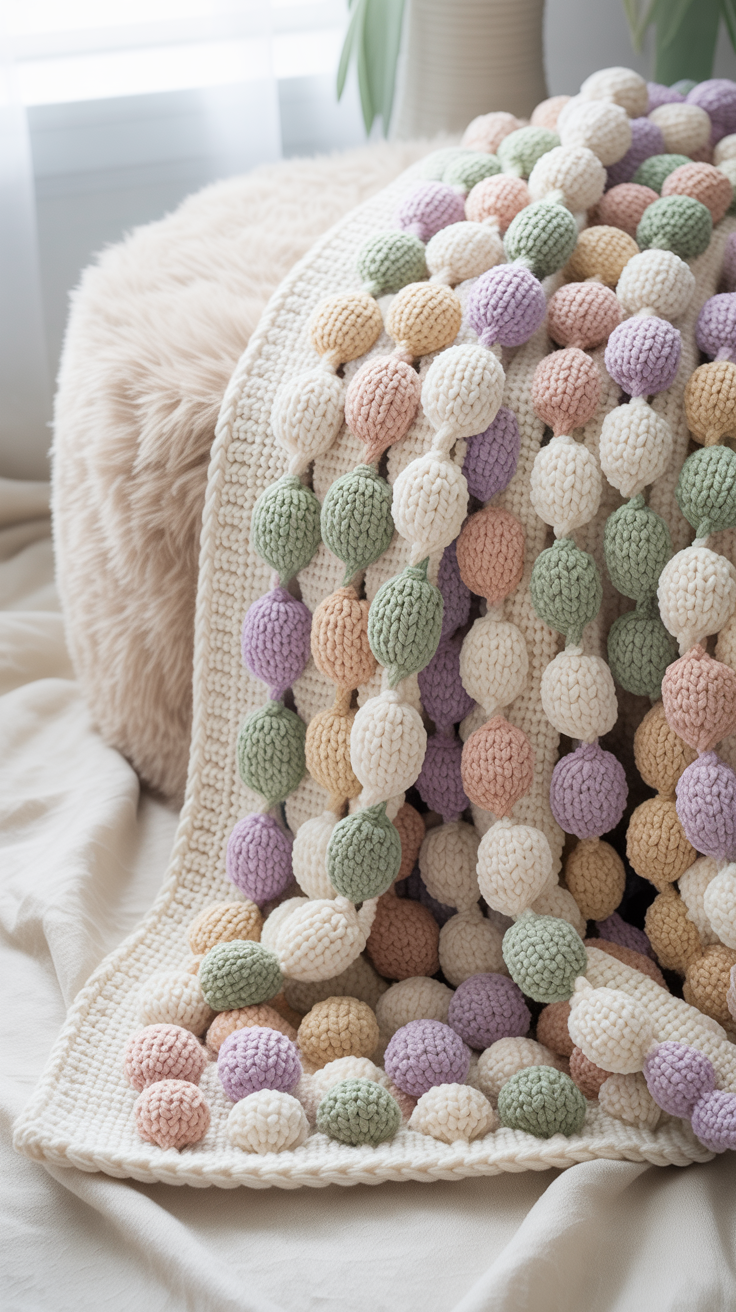
Popcorn pattern brings volume to the fabric. The small humps are an eye-catcher and create a three-dimensional experience. The pattern is pleasantly warm.
Required materials:
- Wool yarn medium to thick
- Crochet needle to match the yarn thickness
- Scissors
Here’s how you implement it:
- Crochet a chain stitch chain in the desired width.
- Work regularly with five sticks of popcorn.
- Close each bundle in the last stitch with a slip stitch.
Place the popcorn clusters in staggered rows to get a harmonious pattern. For contrast, change color after each row.
8. Star Pattern Blanket
The star pattern looks filigree and solid at the same time. Each element looks like a delicate touch. With color play you achieve atmospheric effects.
Required materials:
- Cotton yarn in two harmonious tones
- Crochet needle according to the yarn
- scissors and sewing needle
Here’s how you implement it:
- Start with a ring of four chain stitches.
- Work star jaws with chain stitches and chopsticks in the ring.
- Strengthen the tips with additional sticks and chain stitches.
Connect the star elements with slip stitches or single crochet stitches. Make sure you have an even grid. This keeps the edge straight and clean.
9. Mosaic Blanket
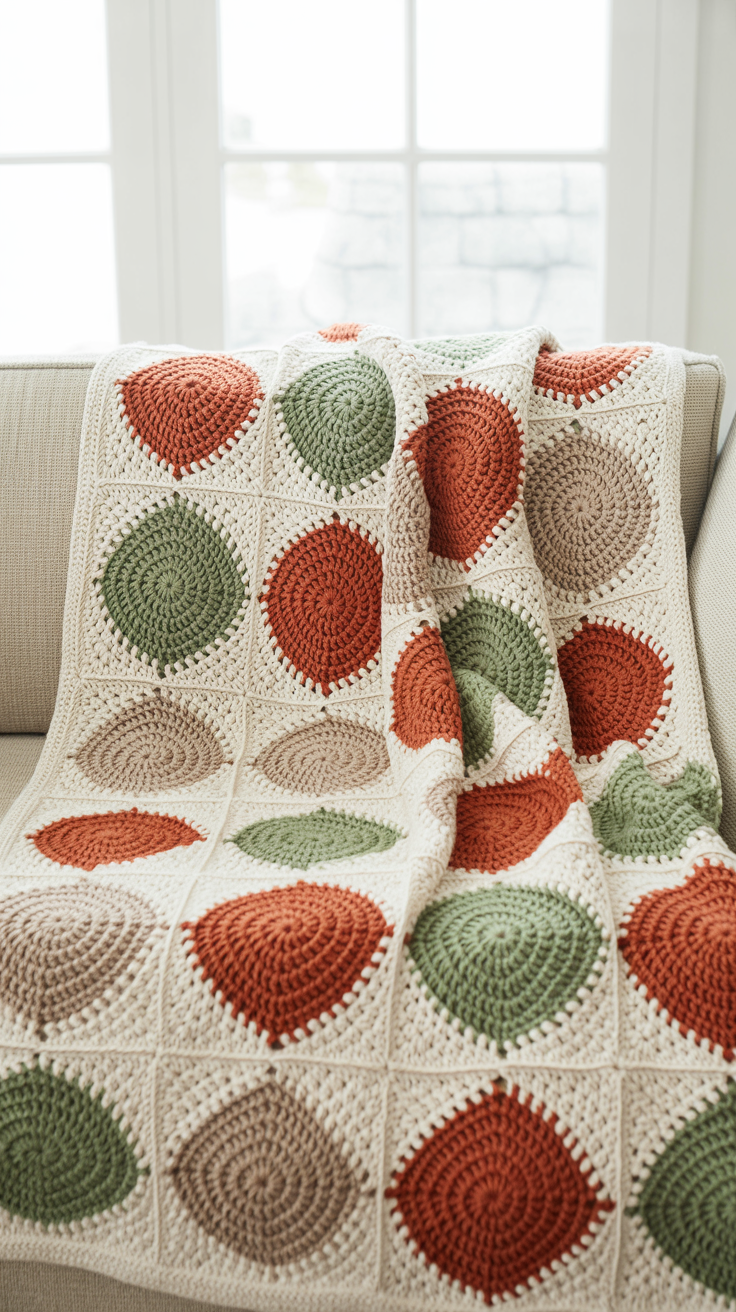
Mosaic blankets are also called Tunisian patterns. They create a flat design with clear shapes. Rectangular fields are created with targeted color changes.
Required materials:
- Tunisian crochet needle
- Color changing yarn or multiple shades
- Scissors
Here’s how you implement it:
- Make a long enough chain chain for the width.
- Crochet with Tunisian pre-series and then alternate back and pre-series.
- Change the colors at fixed positions for the mosaic image.
A pre-exercise in the classic Tunisian crochet stitch helps to achieve even rows. A recurring color mix of three tones is ideal for an ordered pattern.
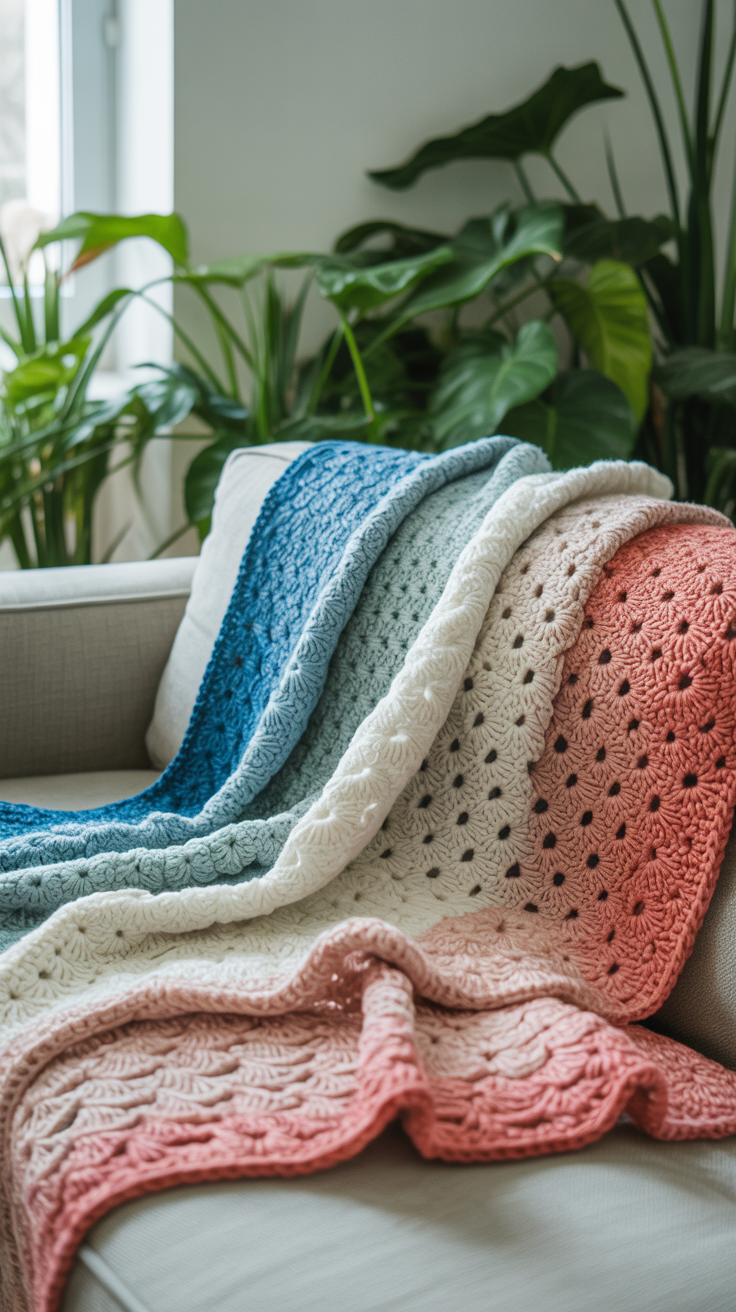
10. Gradient Blanket
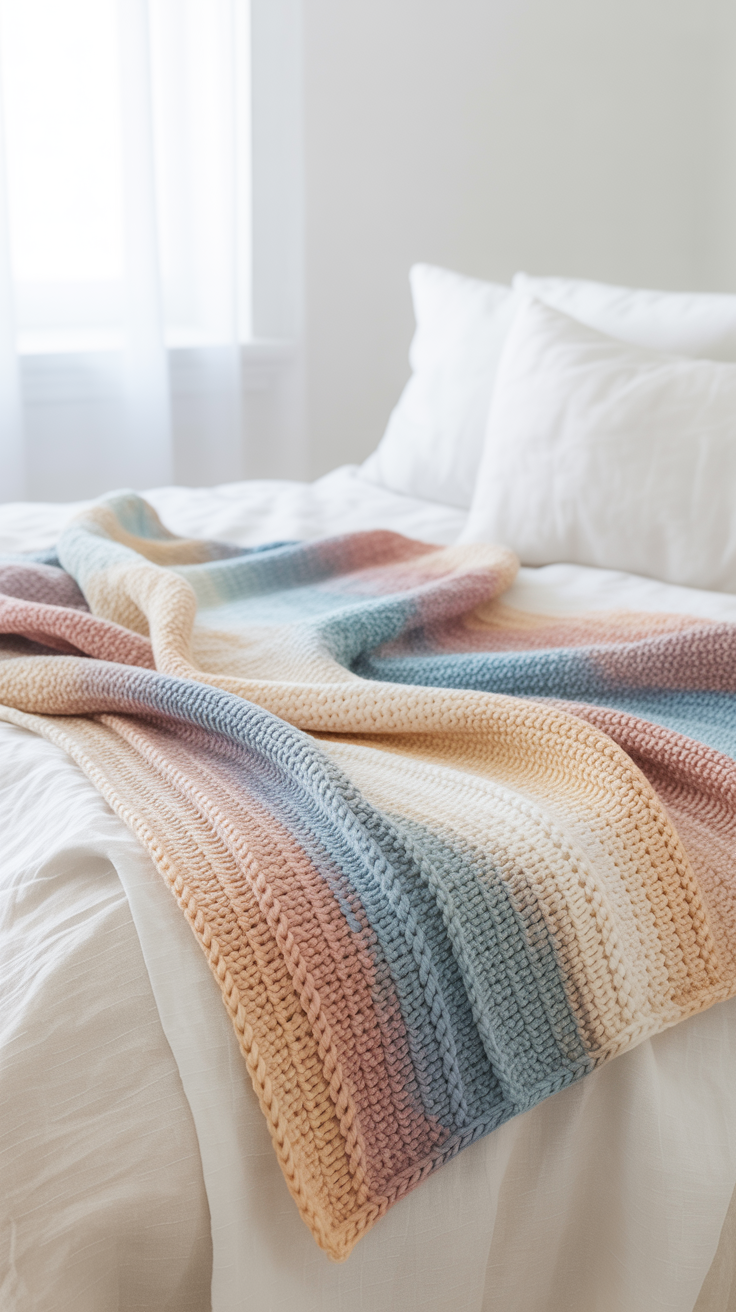
Gradient yarns create smooth transitions without constant thread change. This creates a harmonious blanket that hardly makes any work. Ideal for fast projects.
Required materials:
- gradient yarn
- Crochet needle according to the yarn recommendation
- Scissors
Here’s how you implement it:
- Hit a chain stitch chain in the desired width.
- Work evenly in rows of half double crochet or chopsticks.
- Follow the yarn’s color gradient and make sure you have an even tension.
If you like a soft gradient, use a loose stitch. If the transition is stronger, choose a smaller needle. So the colors remain clearly separated.
Close
I hope this collection gives you inspiration. Each blanket offers leeway for your own color choice and pattern combination. Whether you like to implement fast projects or like detailed relief patterns, you will find suitable ideas here. Try out several models and combine techniques to your liking. This allows you to adapt your ceiling to your home and bring in a personal touch. Unpack the crochet hook and choose an idea that appeals to you. You will soon be holding a self-crocheted blanket in your hands.