Crochet curtains is like poetry made of stitches. They give your room a very special flair – light, airy and with a touch of nostalgia. Whether romantic with a lace pattern or modern with clean lines: self-crocheted curtains are more than just privacy. You are a statement.
You don’t need to be a pro. Many patterns can also be implemented well as a beginner. Particularly beautiful: You can tailor size, color and pattern to your windows and style.
In this post I will show you 10 simple to refined ideas on how to crochet curtains yourself. From small window curtains to delicate laces to unusual designs – everything is possible, even with little crochet experience.
Make yourself comfortable, grab your favorite yarn and let your home shine again.
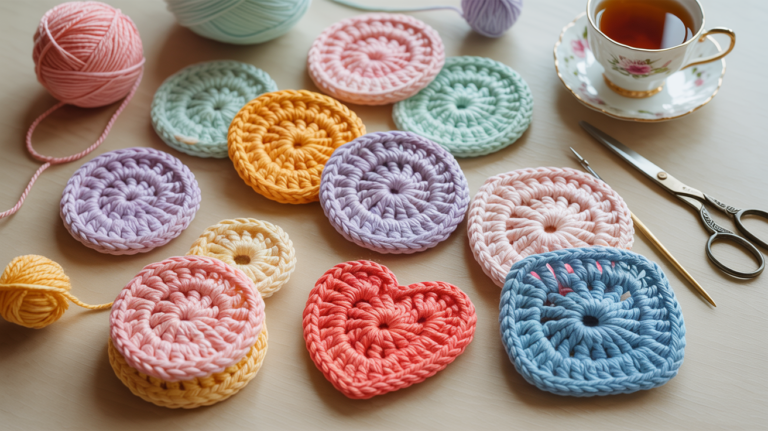
Essential materials for crocheting curtains
| Material | Description & Benefit | Recommended for |
|---|---|---|
| cotton yarn | Lightweight, washable and dimensionally stable – ideal for airy curtains | All models |
| Crochet Needle (2-3.5mm) | For fine, even stitches | Filigree curtain pattern |
| Lace or fillet yarn | Particularly delicate and noble | Lace pattern & fillet crochet |
| mesh marker | Helps with repetitions in the pattern | complex patterns |
| darning needle | For clean sewing | every project |
| Curtain rod or wire | for the suspension | Window Curtains & Co |
| steam iron | For fixing & shaping | Finished curtains |
💡 Tip: The thinner your yarn, the finer the curtain looks. Better to start medium-thick on beginner projects.
10 ideas for beautiful curtains to crochet
1. Classic lace curtain for small windows
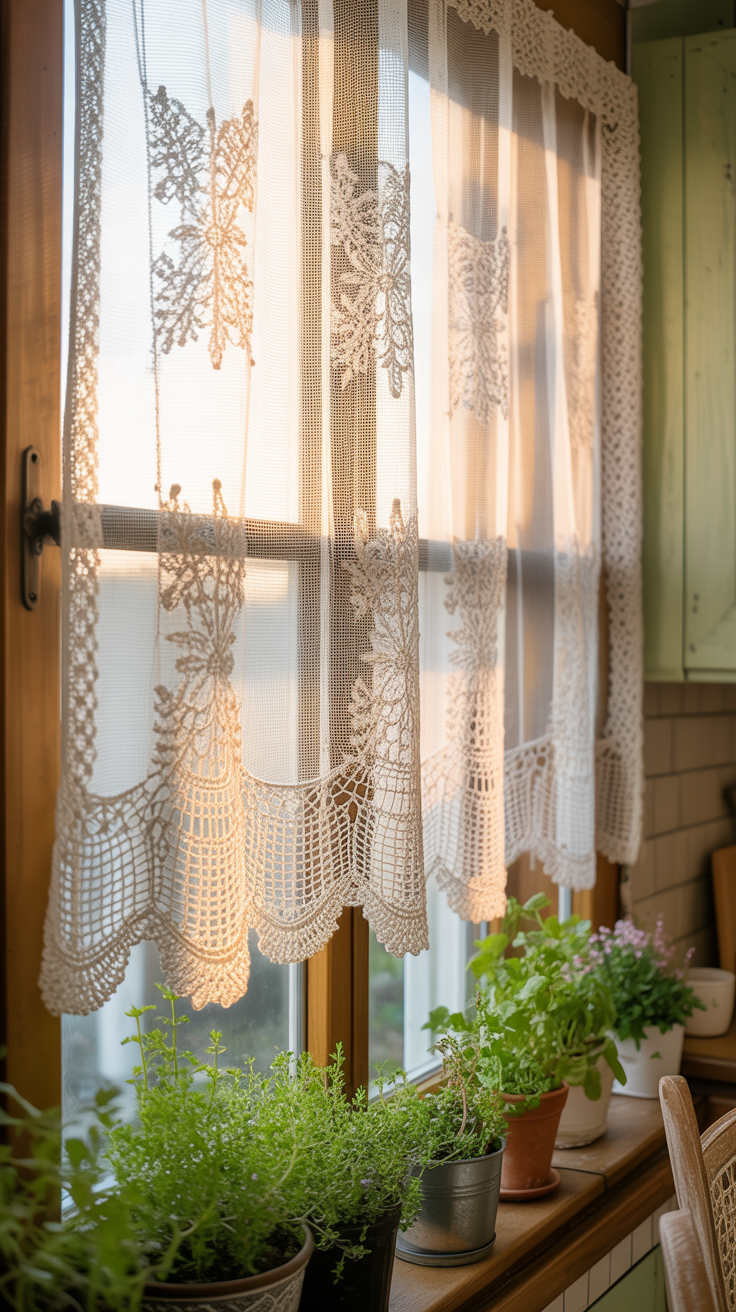
You want to give your room a touch of nostalgia? Then this delicate lace curtain is perfect. It is reminiscent of old kitchen windows from grandma’s days, but still lets a lot of light into the room. It looks particularly beautiful in white or cream, combined with wood or natural fabrics. Also ideal if you’re just starting out – because the pattern is simple, but effective.
Benefits:
- Protects from looking without blocking the light
- Looks romantic, playful and timeless
- Fits perfectly in the kitchen, hallway or bathroom
Here’s how it works:
- Measure out your window and calculate 1-2 cm per side
- Crochet a chain of air mesh in the appropriate width
- Work a simple hole pattern (e.g.. 1 stick, 1 chain stitch)
- Repeat the pattern in rows to the desired height
- Finishing edge: single crochet stitches or small arches for the edge
- Crochet loops for the curtain rod or sew in extra
💡 Tip: A light cotton yarn ensures dimensional stability – so your curtain hangs nicely evenly.
2. Fillet crochet curtain with heart or blossom

Would you like to incorporate an individual pattern that immediately catches the eye? Then fillet crochet is just the thing. With this technique, you work with chain stitches and single stitches into a net. Especially beautiful: hearts, flowers or geometric shapes. You can even design your own templates.
Why crochet filet?
- You learn to work by counting patterns
- Ideal for individual curtains with a personal touch
- Airy light and still structured
That’s how it workss:
- Start with a chain stitch chain in window width
- Follow a filet template (available online or self-drawn)
- Empty boxes = 1 double crochet + 2 chain stitches
- filled boxes = 3 sticks
- Crochet the pattern in rows
- Fixed edging and optional border finish
💡 Tip: Print out the pattern and mark every finished row – so you don’t lose track.
3. Short window curtain with arches
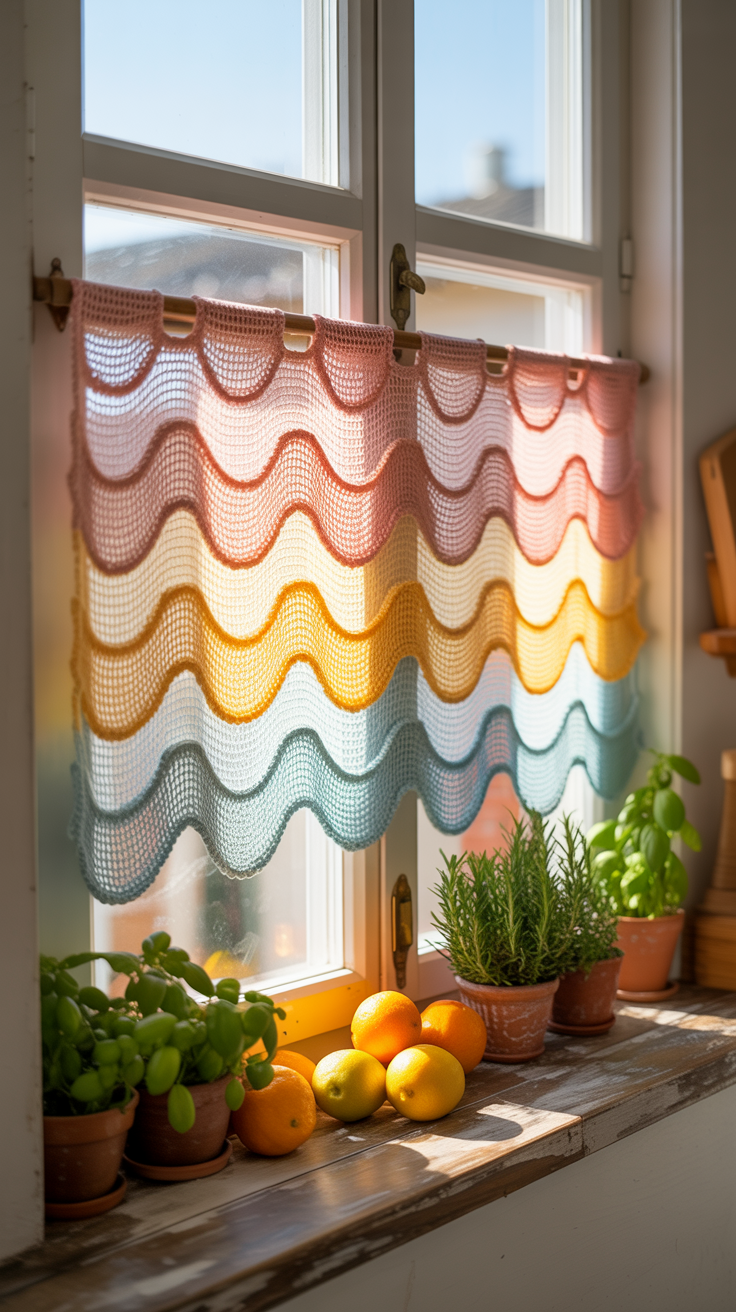
Window curtains are the little all-rounders for your windows. They only cover the lower part, but immediately give your room more comfort. Especially practical in the kitchen or bathroom – and a real eye-catcher in the crochet version. Best of all, you just need a simple sheet pattern to get a pretty result right away.
This is what makes this idea so charming:
- Privacy protection below, clear view above
- Crocheted quickly
- Perfect to use the leftovers
Here’s how it goes step by step:
- Strike chain chain chain in window width
- Crochet rows of single crochet stitches and chain stitches (e.g.. 1 fixed, 3 chain stitches)
- Insert into each row of sheets offset – this results in the wavy look
- Graduation with single stitches or small picots
- Work in loops for the curtain rod directly or crochet separately
💡 Tip: With a light gradient yarn, a subtle color change is created – without any effort.
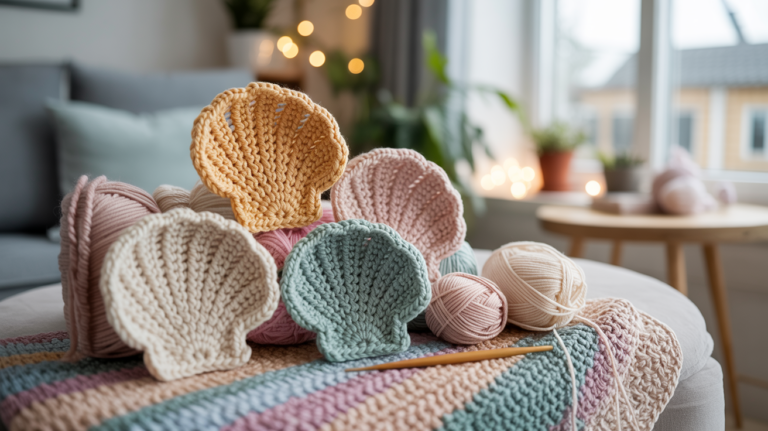
4. Romantic crochet border for the top window edge
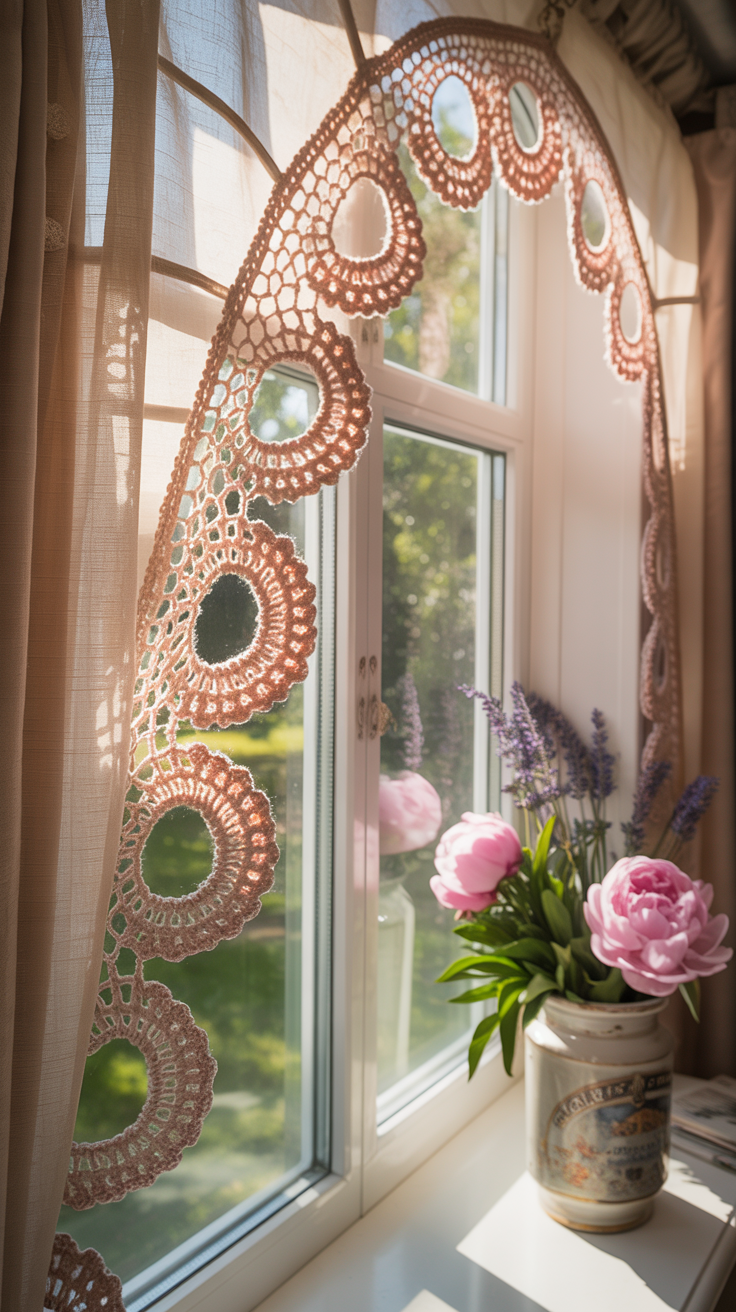
You want to give your window a little accent, but not hang up a complete curtain? Then a crocheted border is the perfect solution. It is attached to the top of the window and immediately enhances plain roller blinds or curtains. Depending on the pattern, it looks playful, vintage or modern – and you can color it to suit your home.
So this idea is worth it:
- Fast crochet project with great impact
- Ideal for combining with fabric curtains
- Can also be used as a table edge or shelf end
Here’s how it works:
- Choose a border pattern, e.g. B. shells, waves or flowers
- Crochet the desired length in rows
- Finishing with single stitches or a border
- For suspension: use loops, eyelets or curtain clips
💡 Tip: Watch out for a pattern with repetitions – so you can easily customize the length and style.
5. Airy curtain with simple hole pattern
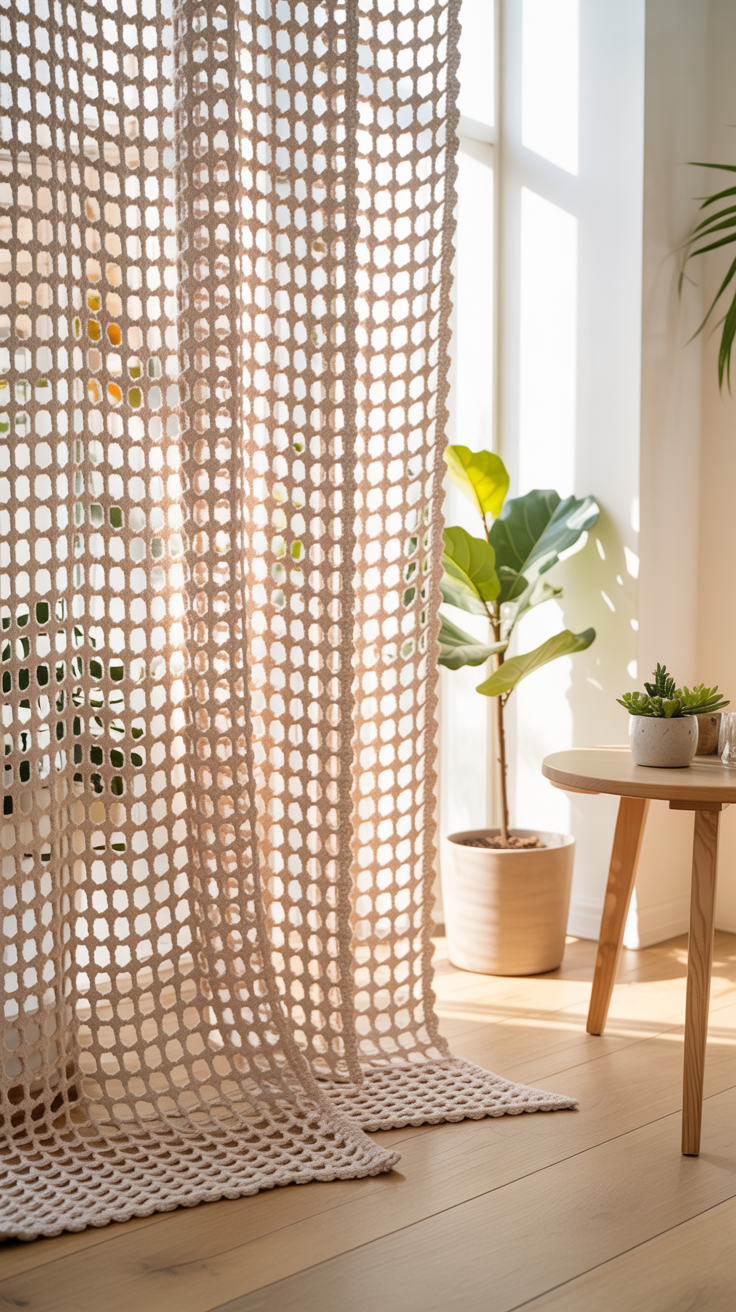
Are you looking for something simple that still looks elegant? Then this airy hole pattern curtain is just right. It lets through a lot of light, brings structure to the window and fits into every room. It also works particularly well with large windows or balcony doors – simply expand the pattern in width.
Particularly practical:
- Even with little crochet experience, it’s easy to do
- Expandable in width and length
- Ideal for bright, modern rooms
Instructions:
- Chain chain in desired width
- Alternate crochet: 1 stick, 1 chain stitch, row by row
- In each new row: chopsticks in the chain stitch of the previous row
- Finishing edge: single crochet or decorative sheet row
- suspension z. B. with crochet rings or loops at the top edge
💡 Tip: If you prefer the pattern a little denser, use half chopsticks instead of whole.
6. Boho curtain with fringes
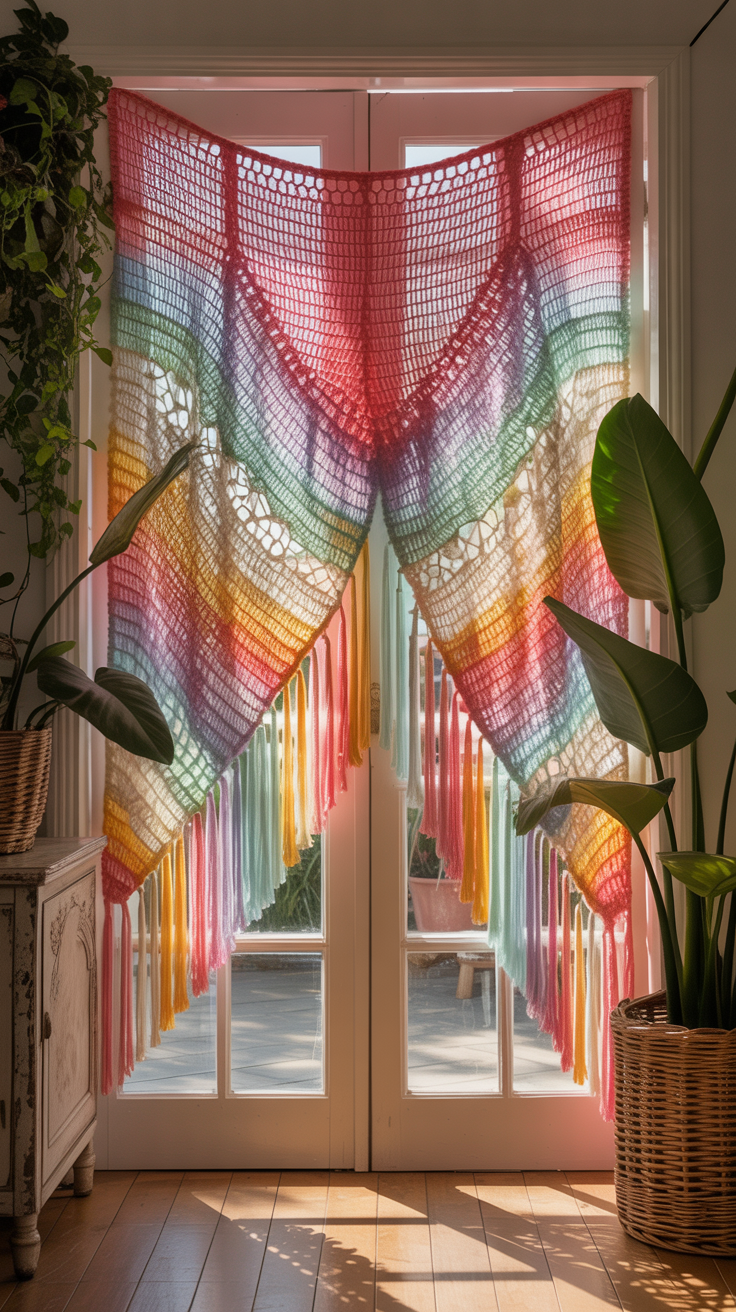
Do you love the relaxed boho style? Then this curtain is exactly your thing. It is airy, creative and brings a playful lightness to your home. The combination of a loose mesh pattern and gently falling fringes makes them a real eye-catcher – whether at the window, as a room divider or even as a wall decoration.
Why you should try them:
- Looks really classy even in natural tones
- You only need a few basic stitches
- Ideal to use leftovers and fringes creatively
How it works:
- Crochet a chain of air mesh in window width
- Work out rows 1 single crochet, 4 chain stitches, moved to the next row
- The fringes are made from approx. 20cm long pieces of yarn, which you pull in with the crochet hook
- Fringe evenly on the bottom edge
- Finally: suspension with loops or drawstring
💡 Tip: For extra volume, you can easily comb or loosen the fringes.
7th round crochet curtain – creatively with a difference
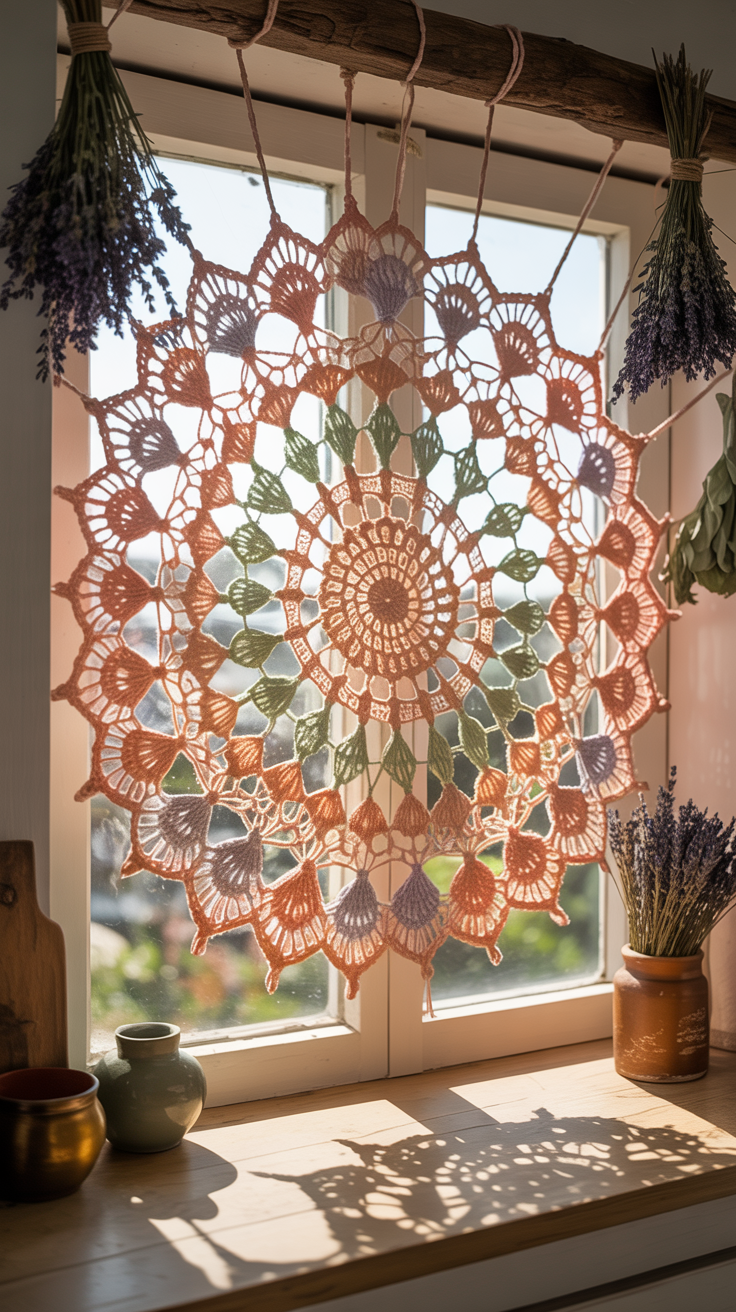
Do you want to decorate your window in a completely different way? Then try a round of curtains! It looks like a mandala at the window and immediately brings lightness and creativity into the room. Especially nice on small windows or as a decorative highlight on doors.
That’s why she’s something special:
- Something different than rectangular curtains
- Can be used with gradient yarn
- Also great as a single decorative element
Here’s how it works:
- Start with a thread ring
- Crochet evenly on each round (e.g. by increasing every few stitches)
- Combine single stitches, chopsticks and chain stitches for patterns
- If the diameter fits, complete the edge with slip stitches
- For hanging: small loop or clear clips
💡 Tip: Hang the round curtain in the middle of the window – the play of light is fantastic!
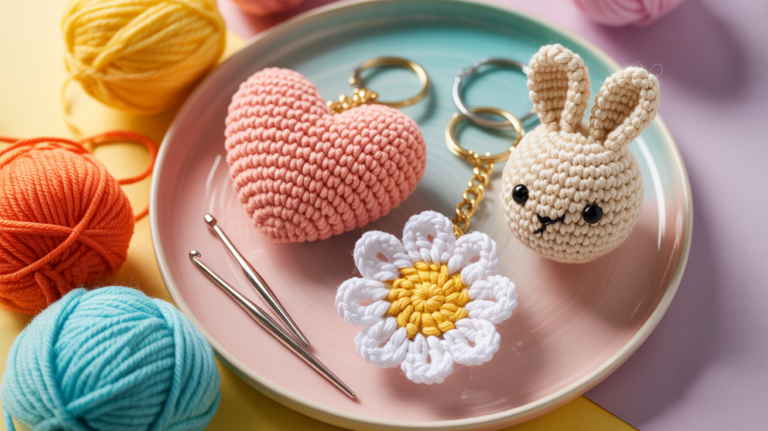
8. Flower curtain made from small crochet flowers

You want to beautify your window with a little attention to detail? This idea is really fun: you crochet small flowers and combine them into a delicate flower curtain. Whether tone-in-tone or colorful – every flower is a small work of art. Perfect for spring, children’s room or just as a playful extra.
What makes this curtain so special:
- Great for using yarn leftovers
- Even beginners can do the flowers with a little practice
- Flexible: You determine how dense or loose the pattern will be
How it works:
- Crochet individual flowers (e.g. with 5-6 petals made of single crochet and chopsticks)
- Depending on the window size, crochet approx. 30-60 pieces
- Connect them to a kind of net with chain stitches
- Hang the whole thing with clips or loops
💡 Tip: For more stability, you can fix the finished movement with spray starch.
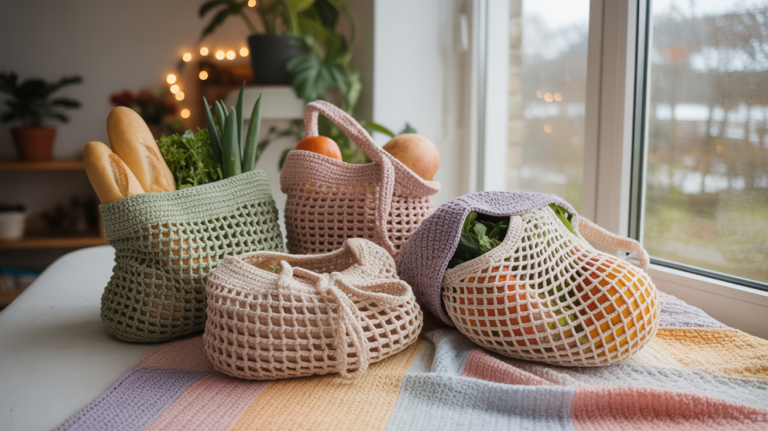
9. Fine net pattern for large windows

Large windows need curtains that do not crush – but complement. This net pattern brings structure and lightness at the same time. It’s subtle, but anything but boring. It also grows fast because you work with lots of chain stitches.
Why this curtain is ideal for large windows:
- Airy pattern that doesn’t take too much light
- Crocheted quickly
- Fits modern, simple facilities
Here’s how it works:
- Crochet a long chain chain
- Work in rows: 1 stick, 2 chain stitches, always pierce the second chain link
- Pay attention to even tension
- Finishing edge: a row of single stitches or decorative shells
- Loops or drawstring for suspension
💡 Tip: Especially beautiful in warm natural colors such as sand, cream or sage.
10. Crochet Curtain Suspension – Loops & Rings Homemade
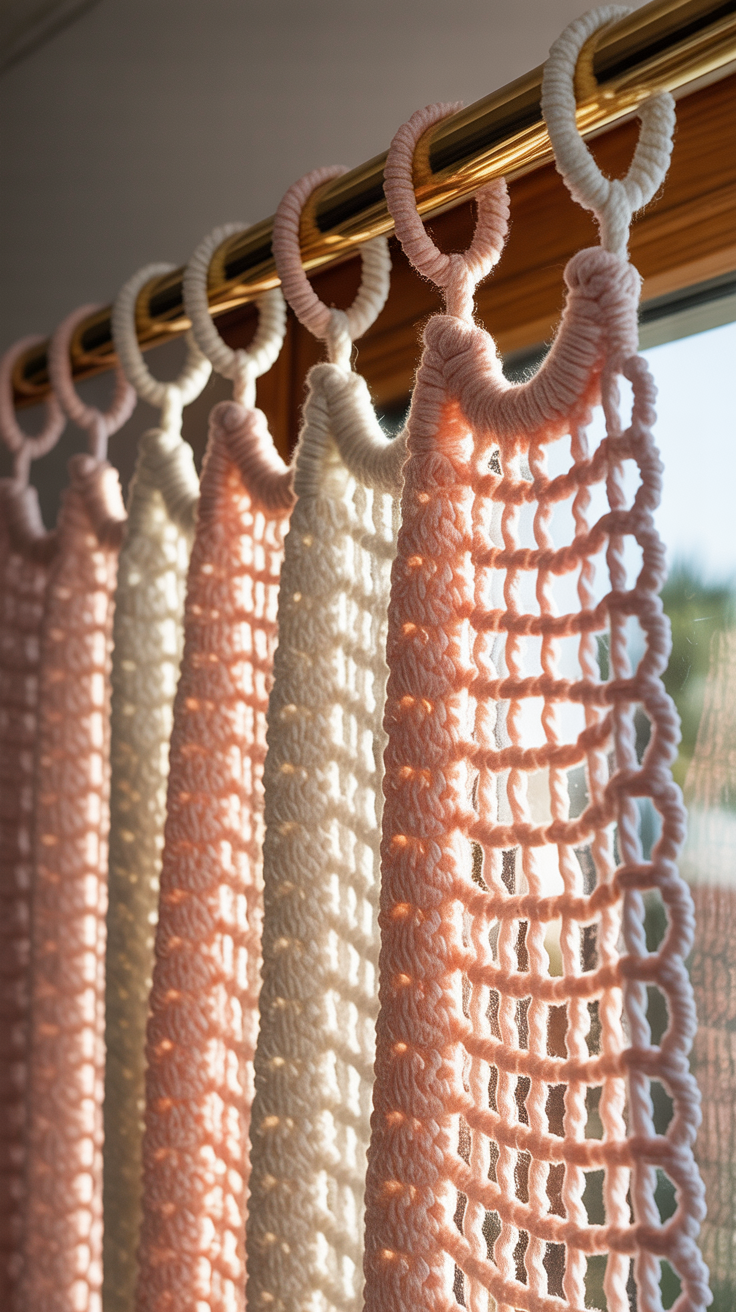
Your curtain is ready, but you don’t want classic curtain rings? Then just crochet it yourself. With small loops or crocheted wooden rings, even the suspension becomes part of the design. This not only looks pretty, but also gives you more leeway in the design.
What makes this idea so practical:
- Saves additional materials
- Perfect for a uniform design
- Can also be used as a pretty detail for purchased curtains
How it works:
- For loops: crochet short rows of single crochet stitches (e.g. 8-10 stitches wide, 5 rows high)
- Sew or crochet evenly to the top edge of your curtain
- For rings: take small wooden or plastic rings and crochet them with single crochet stitches
- Attach the rings regularly to the top edge
💡 Tip: Matching loops make the curtains look classy and well thought out.
❗ Common Crochet Curtain Mistakes – and How to Avoid them
1. The curtain becomes crooked or warped
The problem:
The curtain does not hang straight at the end, but warps to the side or looks crooked.
The cause:
It is usually due to uneven thread tension or forgotten/too many stitches at the beginning of the row or end.
✅ The solution:
- Be sure to start and finish each row with the same number of stitches.
- Use stitch markers for the edge – this will help you to keep an overview.
- Carefully stretch the finished curtain on a towel with pins and steam it with the iron (without pressing).
💡 Tip: In between, check the shape regularly by placing the piece on a smooth surface.
2. The pattern becomes irregular
The problem:
Holes, distances or patterns look different from row to row.
The cause:
Irregular thread tension or incorrect counting of hole patterns and fillet crochet.
✅ The solution:
- Crochet as evenly as possible – at the beginning it helps to work more slowly.
- Use counting patterns or crochet fonts and sweep each finished row.
- If you are unsure, count the stitches briefly after each row.
💡 Tip: Crochet needle with soft grip can help to work more evenly.
3. The curtain becomes too short or too long
The problem:
You estimated the dimensions – and in the end the curtain doesn’t fit the window.
The cause:
Depending on the yarn, pattern and hand tension, crochet pieces can stretch or contract. Without a stitch test, surprises are inevitable.
✅ The solution:
- Before starting, do a small stitch test (e.g. 10×10cm) and measure how many stitches/rows you need.
- Always plan some additions for airy patterns – they hang out easily over time.
- Measure your window accurately and calculate generously.
💡 Tip: Crochet 1-2 cm too long – shortening is always possible by turning or looping.
4. The edges curl up
The problem:
Straight edges roll inwards or outwards – especially with light yarns or airy patterns.
The cause:
Edges that are too loose or missing end edge.
✅ The solution:
- At the end, crochet one or two rows of single stitches around the curtain – this stabilizes the edges.
- Alternatively, you can also crochet a pretty edge of the shell or small bows.
💡 Tip: Even light steaming or tensioning helps straighten the edge.
5. The suspension does not hold or looks unfinished
The problem:
The curtain slips off the shelf or hangs unevenly.
The cause:
The suspension (e.g. loops or tunnels) is too loose, irregular or poorly attached.
✅ The solution:
- Pay attention to even loops or suspension rings.
- Sew them in carefully or crochet them directly.
- Alternatively, you can crochet and sew on small wooden rings – that looks particularly nice.
💡 Tip: If you prefer to use clips, be sure to distribute them regularly and test them at the window beforehand.
6. The curtain loses its shape after washing
The problem:
Your finished work suddenly looks completely different after the first wash – deformed, worn out or received.
The cause:
Incorrect yarn or wash at high temperatures.
✅ The solution:
- Best to use Pure Cotton Or special crochet yarns that are dimensionally stable.
- Washable at 30°C on a gentle cycle – or better by hand wash.
- always after washing Dry flat and easily pull into shape.
💡 Tip: After drying, give your curtains a little spray to shape them.
7. The threads come loose after some time
The problem:
After a few weeks or the first wash, thread ends hang out loosely.
The cause:
Threads were not properly sewn or just cut off instead of secured.
✅ The solution:
- Use a darning needle to thread multiple Pull through the back of the pattern.
- Make sure to securely sew immediately after finishing each thread.
- Optional: Secure with a mini drop of textile glue on the back (careful and economical!).
Crochet curtains – your window, your style
Crocheting curtains is much more than just a DIY project. It’s a little creative break where you can do something unique with each stitch. You determine the pace, the pattern, the color – and in the end there is no piece of material, but a piece of personality.
Whether you crochet a delicate lace for the kitchen, bring a colorful flower curtain for the children’s room or bring airy boho vibes into the living room: every idea in this article can be easily adapted to your wishes. You don’t need to be a professional – just a little patience, yarn and desire for handmade items.
So grab your crochet hook, make yourself comfortable and get started. Your window is already looking forward to its new favorite look – homemade, loving and very you.