Hinweis: Dieser Beitrag enthält Affiliate-Links zu Creative Fabrica. Wenn du über einen dieser Links etwas kaufst, erhalte ich eine kleine Provision – für dich ändert sich der Preis nicht.
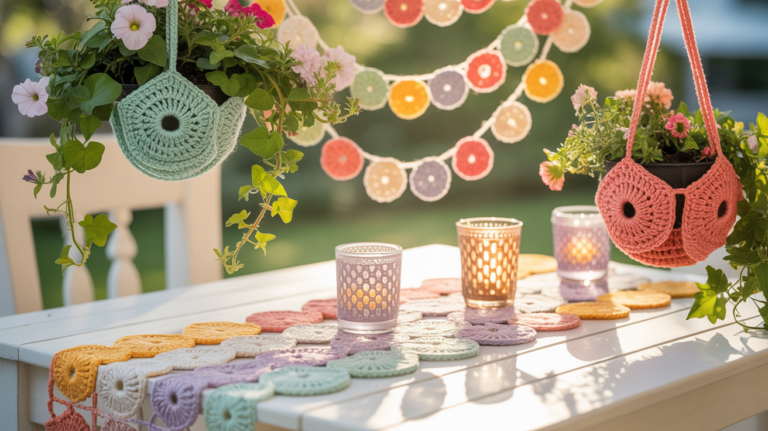
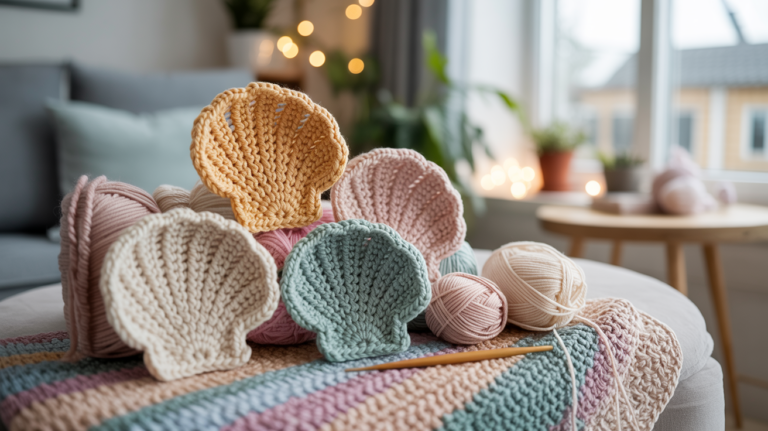
Easter is the time for color, warmth and small surprises. If you like crocheting, this season becomes particularly magical. With Easter Amigurumi you can conjure up cute figures in no time at all that make children’s eyes shine. Small bunny, colorful eggs or cheerful chicks fit perfectly into every Easter nest. They are soft, loving and simply something very special.
Maybe you’re looking for a new idea for your next crochet project. Or you want to make Easter more personal without spending a lot of money. This is exactly where Easter Amigurumi comes into play. They are made quickly, need little material and bring a lot of heart with them. They are also wonderful as a gift, table decoration or small souvenir.
In this post you will find creative Easter Amigurumi ideas that are also easy for beginners to do. You will get practical tips, typical mistakes and a clear list of materials. Every idea is child-friendly, spring-like and intended with love. If you have already crocheted Christmas figures, you will quickly recognize the style. You can also find a suitable contribution to this on minidiyers.de.
Make yourself comfortable, grab your crochet hook and immerse yourself in a colorful Easter world. These Easter Amigurumi ideas make you want spring and craft time together.
Why Easter Amigurumi Ideas Are Special
Easter Amigurumi convinces with its versatility. You can keep figures small and simple or make them detailed. So every project fits your schedule.
No other crochet project brings Easter mood into the house so quickly. The figures are soft, safe for children and durable. They often become real favorite pieces.
In addition, with Easter you give Amigurumi more than just decoration. You give away time, effort and a lot of feeling. This is exactly what makes homemade Easter ideas so valuable.
Common Errors & Tips at Easter Amigurumi
🚫 Mesh too tight: If you crochet too hard, the figure becomes hard and bulky. Loosen your hand consciously.
🚫 Inappropriate yarn choice: Smooth cotton yarn shows mesh clean and looks high quality.
⚠️ rounds lost: Without marking, the beginning quickly slips. Always put a stitch marker.
⚠️ Wrong filler used: Better to stuff in stages, so the shape remains even.
💡 Professional tip: Count the stitches briefly at the end of the round. Small mistakes are noticed so early.
✨ Extra tip: For babies and toddlers, always embroider eyes and nose. That’s safer.
Essential Materials for Easter Amigurumi
| Material | Description |
|---|---|
| cotton yarn | Stable, easy to care for, ideal for figures |
| crochet needle | Choose to match the yarn thickness |
| filler cotton | Provides soft, shapely amigurumi |
| sewing needle | For sewing the parts together |
| mesh marker | Helpful for clean rounds |
Basic techniques needed for Easter Amigurumi
For Easter Amigurumi you only need a few crochet bases. Most figures are made in single crochet stitches and rounds. The thread ring is important so that no holes are formed. Increases and decreases shapes body, heads and eggs. Color change helps with patterns and small details. At the end you sew individual parts together and embroider on faces. If you master these techniques, you can easily crochet amigurumi almost every Easter.
Tausende Häkelmuster entdecken
Mein persönlicher Tipp:
Ich schaue für solche Ideen super gerne bei Creative Fabrica vorbei. Wenn ich ein bestimmtes Projekt im Kopf habe, finde ich dort fast immer ein passendes oder ähnliches Muster.
👉 Creative Fabrica Häkelmuster ansehen*
10 nice ideas to crochet Easter Amigurumi
1st Easter Amigurumi Bunny
This little bunny is a wonderful base project for Easter. The round shape forgives small mistakes and helps you develop a feeling for gains and decreases. You work almost everything in single slacks and learn how proportions arise. Ideal for first figures and perfect for Easter nests.
Here’s how it works:
- Start with a thread ring and 6 single crochet stitches
- Round 2: Double every stitch
- Round 3: Double every second stitch
- Round 4: Double every third stitch
- Continue crocheting the body in spiral rounds
- Crochet and sew ears separately
👉 You can find detailed instructions for the sweet bunny here*.
🧵 Tip: Small embroidery stitches for eyes look softer than plastic eyes.
2. Easter Amigurumi Chick
The chick is crocheted quickly and immediately brings the Easter mood. The simple spherical shape makes it particularly beginner-friendly. You practice even rounds and learn to place small details in a targeted manner.
Here’s how it works:
- Start with a thread ring
- Crochet the body as a round ball
- Plug evenly while crocheting
- Wings work as small semicircles
- Embroider eyes and beak
👉 here* go to the instructions.
🧵 Tip: A small stab over the eyes makes for a friendly look.
3. Easter Amigurumi Egg
This amigurumi egg is perfect to use yarn leftovers. The shape is simple, but is very decorative due to the color change. You will learn how to build an oval shape and close it cleanly.
Here’s how it works:
- Start with a thread ring at the bottom
- Build the egg with regular increases
- Work in the middle part without increases
- Slowly remove the stitches at the top
- Close opening clean
👉 I always work according to this simple one Instructions*.
🧵 Tip: Stripes look the most beautiful with color changing at the beginning of the round.
4. Easter Amigurumi lamb
The lamb is soft, calm and very popular with small children. It helps you work with structure without getting complicated. The face is deliberately simple.
Here’s how it works:
- Crochet the body in single crochet
- Slight increases for a round shape
- Make ears small and flat
- embroider face
- Fill loosely
👉 I work the lamb after this Instructions*.
🧵 Tip: Crochet a little looser to keep the figure soft.
5. Easter Amigurumi Chick in Egg
This project combines two simple shapes. You learn to crochet parts so that they fit together. Especially nice as a little Easter surprise.
Here’s how it works:
- Crochet egg in half
- Chicks work separately as a ball
- Egg slightly shaping inside
- put chick in it
- Loosely connect parts
🧵 Tip: A small button or push button keeps the egg closed.
6. Easter Amigurumi Rabbit Baby
This little rabbit baby lives on its proportions. The head is slightly larger, the limbs short and round. This makes the figure look particularly cute and soft. The project is well suited to practicing multiple parts assembling without getting complicated.
Here’s how it works:
- Crochet the head as a round ball
- work a little smaller
- Crochet your arms and legs short and compact
- Ears narrow and slightly curved
- Sew all parts tight, but clean
🧵 Tip: Less filler cotton in the body makes the baby rabbit look more natural.
7. Easter Amigurumi Mini Basket
This basket is quickly crocheted and very versatile. It is suitable for small Easter eggs, sweets or as decoration on the table. You will learn how to create stability and crochet sides straight.
Here’s how it works:
- Start with a solid floor in rounds
- Build the diameter with even increases
- Crochet the sides without further increases
- Work a simple handle
- Sew threads carefully
👉 You can find a similar guide here*.
🧵 Tip: With a smaller needle, the basket becomes more stable.
8. Easter Amigurumi Flower Bunny
The flower hare combines classic amigurumi shapes with spring-like decoration. The project remains manageable, but has a particularly loving effect due to the flowers. Ideal if you want to practice simple ornaments.
Here’s how it works:
- Crochet a round rabbit head
- Crochet ears directly or work separately
- Crochet small flowers in rows or rounds
- Sew flowers together into a wreath
- Attach the wreath to the head
🧵 Tip: Stay with similar shades for a calm overall picture.
9. Easter Amigurumi ducklings
The duckling is a nice alternative to chicks and rabbits. The shape is familiar, but brings a new technique into play with the flat beak. Nevertheless, the project remains easy to do.
Here’s how it works:
- Crochet body as round ball
- Beak work flat in rows
- Set wings small and sideways
- embroider eyes
- Fill figure evenly
👉 This guide* I used it as a template and customized something for me.
🧵 Tip: Set the beak a little deeper, it looks more natural.
10. Easter Amigurumi Sleeping Bunny
This sleeping bunny radiates calm. The closed eyes and the soft shape make it ideal for small children. You work almost exclusively in single crochet stitches and pay attention to a relaxed tension.
Here’s how it works:
- Crochet head and body in a gentle round shape
- Close eyes with simple embroidery stitches
- Sew on the ears softly and slightly inclined
- Fill figure loosely
- Hide the threads cleanly
🧵 Tip: Gentle pastel colors enhance the calm character.
Easter amigurumi as a loving spring decoration
Easter Amigurumi brings tranquility, color and warmth to your home. Each figure is made by stitch by stitch and bears your signature. Whether little chick, sleeping bunny or colorful egg. These crochet ideas make Easter more personal and closer.
You don’t need a big project to give pleasure. Even a small amigurumi can trigger a smile and accompany it for a long time. Take your time, choose soft colors and enjoy the creative process. This is how Easter Amigurumi becomes a quiet, loving Easter tradition that makes you happy every year.