Note: This post contains Amazon Affiliate Links. As an Amazon Associate, I earn a commission for qualified purchases. If you buy something through one of these links, I get a small commission – the price doesn’t change for you.
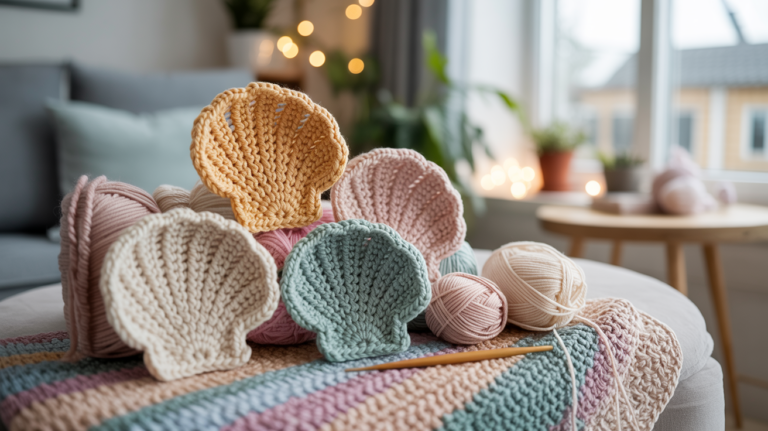
Crochet is just for you. A few minutes of rest, a ball of yarn in your hand and something small with meaning is created. Keychains are perfect for that. They are ready quickly, need little material and are ideal for trying out new stitches and shapes.
A crocheted keychain accompanies you every day. At the keychain, on the backpack or as a small gift for a loved one. That’s what makes her so special. They are personal, practical and can be easily adapted to your style.
In this post you will find 10 nice ideas that you can easily crochet keychains with. Many of them are beginner-friendly, some bring a little extra. Everything is well explained and easy to implement.
Make yourself comfortable, get your favorite yarn and get started.
Essential Materials for Crocheting Keyring
For crocheted key rings, you only need a small basic equipment. It is important that everything is stable enough for your work to cooperate well with everyday life.
| Material | Description and Benefit | Suitable for |
|---|---|---|
| cotton yarn | Shapely, sturdy and comfortable to crochet. Ideal for durable key rings in everyday life. | All keychains |
| Crochet needle 2.5-3.5 mm | Ensures tight stitches and an even mesh pattern. Easy to control for small projects. | Beginners and fine shapes |
| Keyring or carbine | Securely attach the pendant to the keychain, backpack or bags. | every project |
| mesh marker | Helps counting rounds and marking the beginning of the round. | Balls, Figures, Amigurumi |
| darning needle | For neat stitching of the threads on the back. | All projects |
| filler cotton | Gives the key ring volume and shape in three-dimensional motifs. | Heart |
10 ideas to crochet beautiful keychains
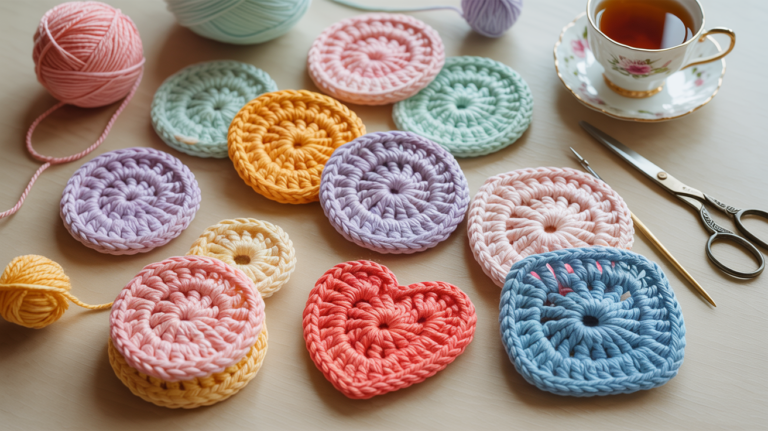
1. Classic Round Keyring
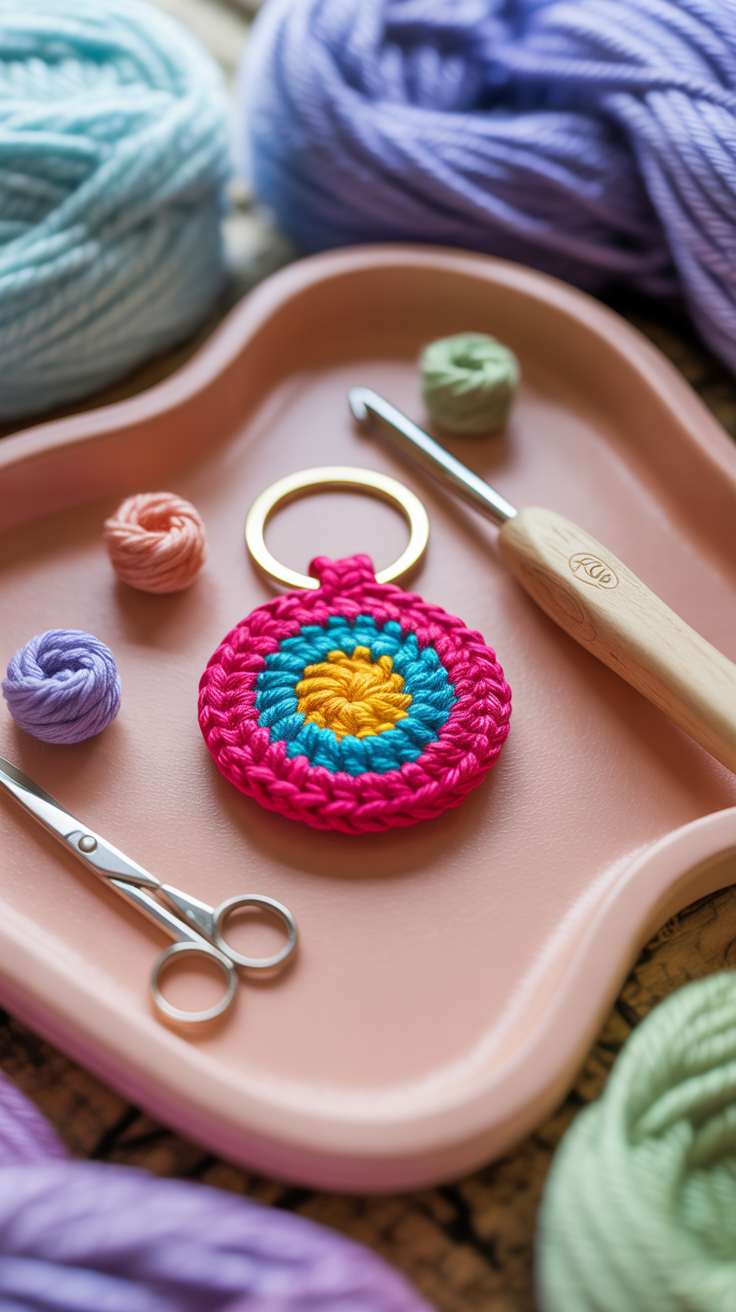
The round keychain is a quiet entry into small crochet projects. You can focus on even stitches and quickly get a feel for rounds and increases. This is ideal, especially for beginners, because the shape is tolerant and small irregularities are hardly noticeable. At the same time, a stable trailer is created that accompanies you in everyday life for a long time.
you need
– cotton yarn* Medium strength for a stable shape
– crochet needle* 2.5-3.5mm for single mesh
– metal key ring*
– darning needle* for sewing
Here’s how it works:
- Start with a thread ring.
- Crochet 6 single crochet stitches in the ring.
- Close the round with a slip stitch.
- In the next round, crochet two single crochet stitches in every second stitch.
- Repeat the increases evenly until the desired size is reached.
- Crochet a small chain chain chain as a loop.
- Pull the key ring through the loop and tighten it.
💡 Tip: If the circle is flat on the table, the number of stitches is just right.
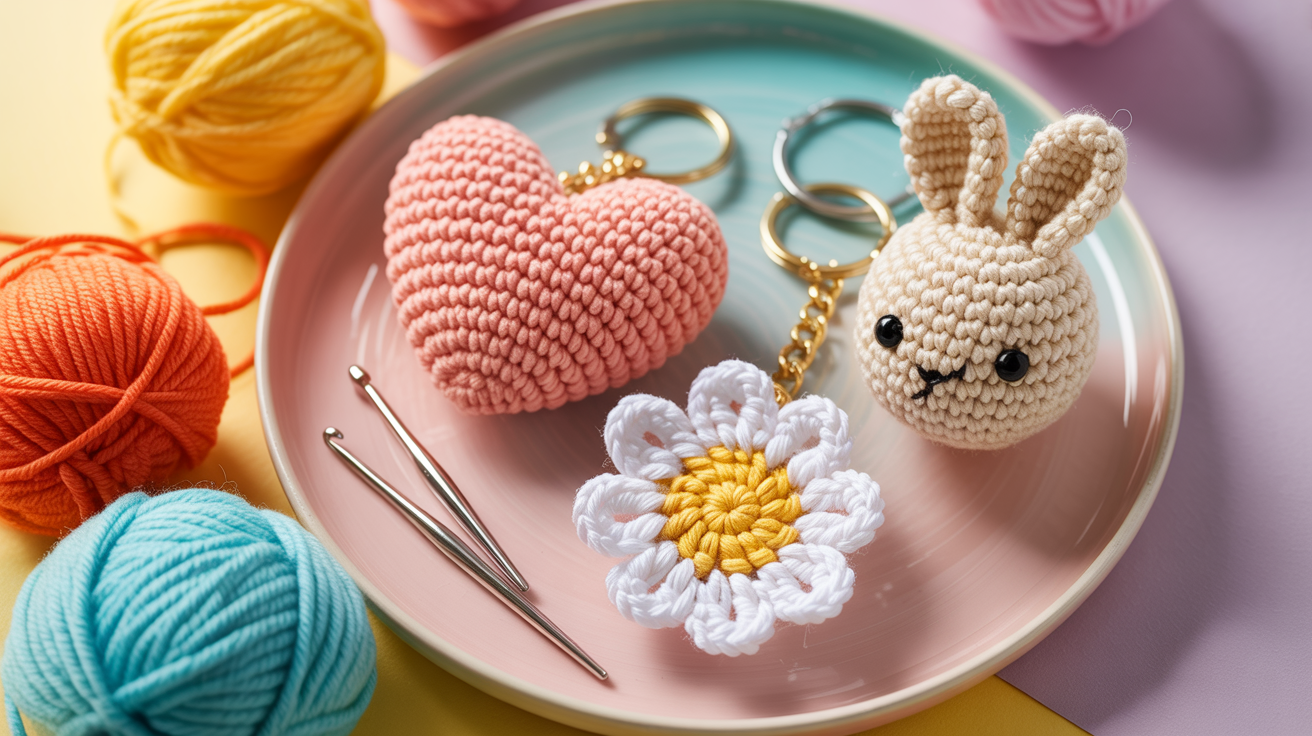
2. Heart Keyring
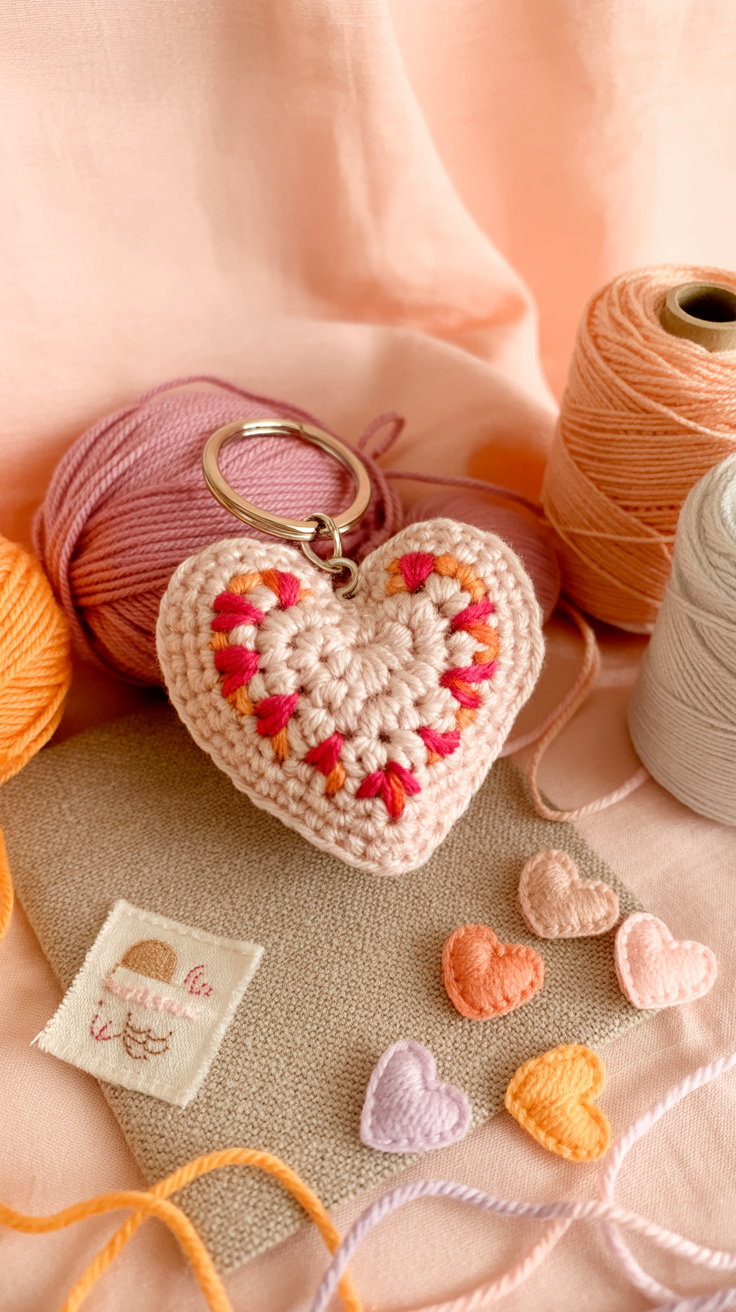
A crocheted heart is small, personal and perfect to make someone happy. This project helps you to consciously crochet shapes and make transitions soft. Despite the special look, the instructions remain manageable and easy to implement.
you need
– cotton yarn* in red, pink or natural tones
– crochet needle* Matching the yarn
– filler cotton* For a beautiful heart shape
– key ring*
– darning needle*
Here’s how it works:
- Crochet two small circles from single crochet stitches.
- Put both circles side by side.
- Connect them with single crochet stitches into a joint round.
- Crochet some stitches without any increase to stabilize the heart shape.
- Take off stitches in the lower half to form the tip.
- Fill the heart lightly with cotton wool.
- Close the opening and crochet a loop for the key ring.
💡 Tip: Tight quilts ensure that the heart stays in shape.
3. Mini flower as a keychain
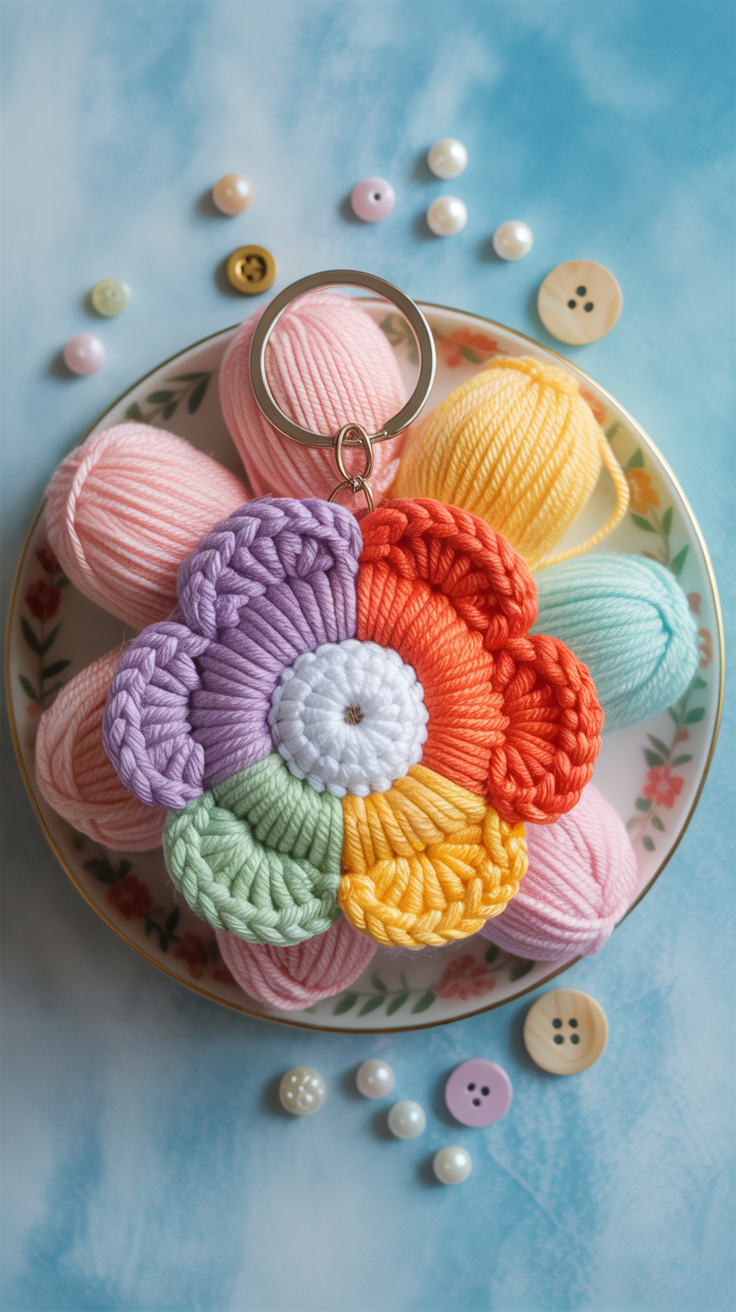
A small flower brings color and lightness to your keychain. This project is great for playing with colors and using leftover yarn. You will learn how simple stitch combinations make a clear motif.
Here’s how it works:
- Start with a thread ring.
- Crochet 6 single crochet stitches in the ring.
- Work in each stitch a petal of several sticks.
- Tighten the thread and close the round.
- Change the color for the middle if desired.
- Crochet a small loop.
- Attach the key ring to the loop.
💡 Tip: Contrasting colors make the flower shape look particularly good.
4. Bullet Keyring in Amigurumi Style

This little ball is perfect to practice crocheting in spiral rounds. You work without a round end and develop a good feeling for even stitches. The result is simple, stable and versatile.
Here’s how it works:
- Crochet 6 single crochet stitches into a thread ring.
- Gain in each stitch of the next round.
- Crochet several rounds with no increases.
- Fill the ball with cotton wool.
- Crochet even decreases.
- Close the opening clean.
- Attach a loop and the key ring.
💡 Tip: A stitch marker will help you not lose the start of the round.
5. Sheet Keyring
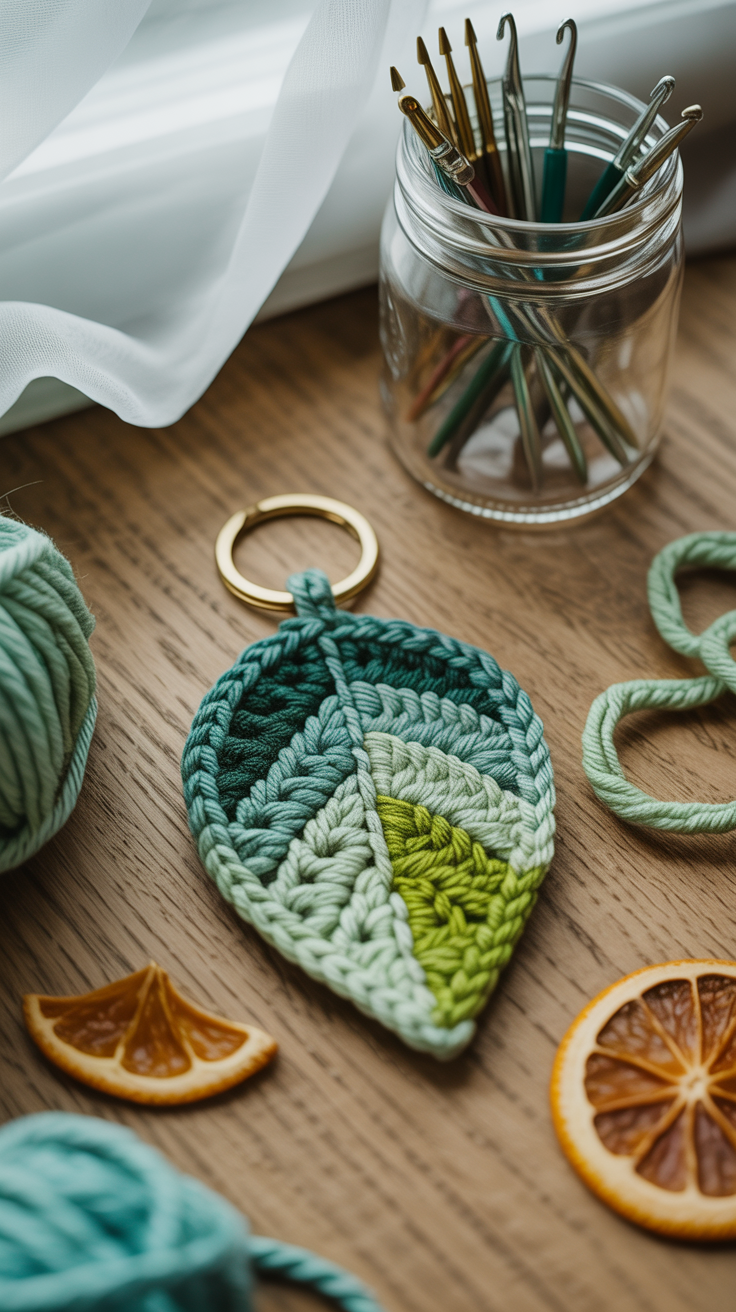
The leaf keychain looks calm and natural. It is ideal for working along a chain stitch chain and crocheting symmetrical shapes. This technique is an important basis for many motifs.
Here’s how it works:
- Crochet a chain stitch chain in the desired length.
- Work on one side of single crochet stitches and half chopsticks.
- Crochet at the top of several stitches in a chain stitch.
- On the other hand, work back mirrored.
- Crochet in the middle a fixed line for more stability.
- Finish the work clean.
- Crochet a loop and attach the key ring.
💡 Tip: A slightly solid edge ensures a beautiful, clear leaf shape.
6. Star Keyring
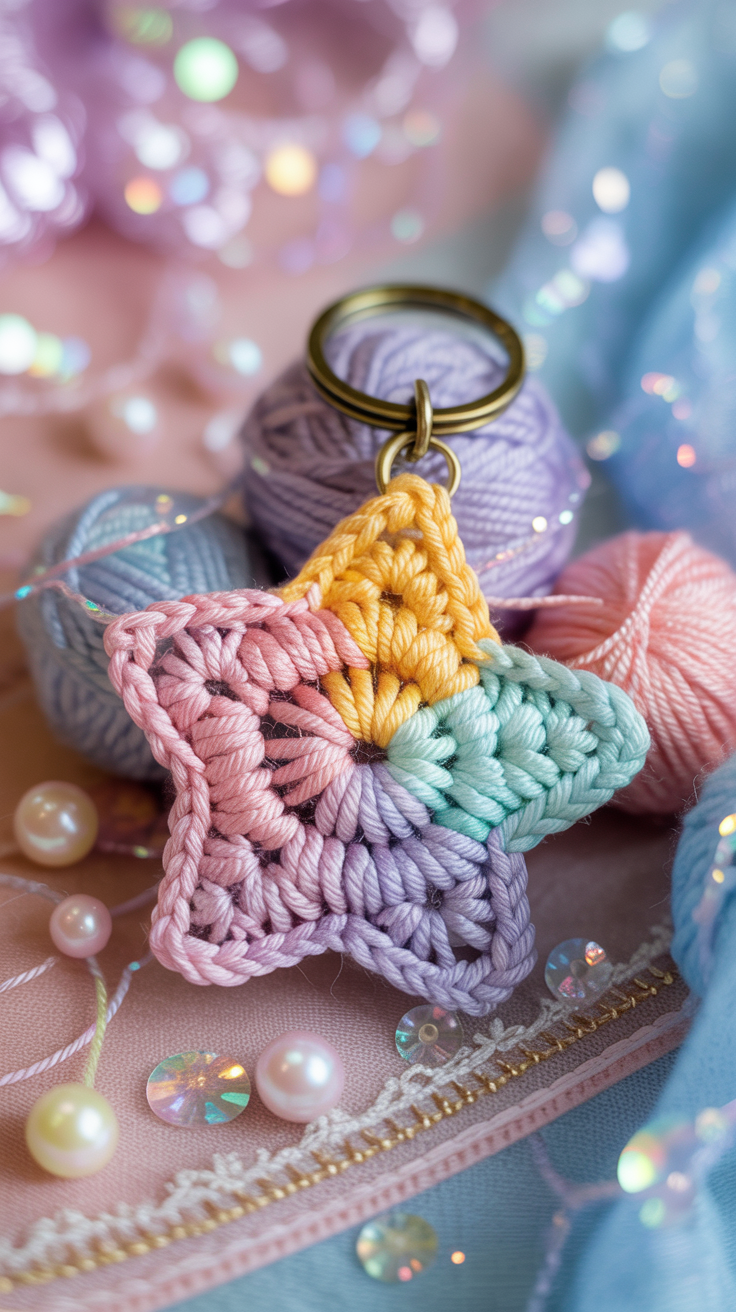
A small star as a keychain is a cute detail with symbolic power. Whether as a lucky charm, a gift for school enrollment or simply as a happy accessory – with this guide you will learn how to work out tips and edges cleanly. The star looks impressive, but with a little patience it is also easy to do for beginners.
Here’s how it works:
- Start with a thread ring.
- Crochet 10 crochet stitches in the ring and close with a slip stitch.
- Crochet 5 chain stitches, then 1 single crochet in the 2nd stitch of the needle, 1 half double crochet, 1 double crochet, 1 double crochet.
- Skip a stitch of the round and crochet the next star point.
- Repeat the process 4 times until 5 spikes appear.
- Close the round with a slip stitch.
- Crochet a small chain chain as a loop and attach the key ring.
💡 Tip: Use sparkling yarn for a festive look.
7. Mini bag as a keychain
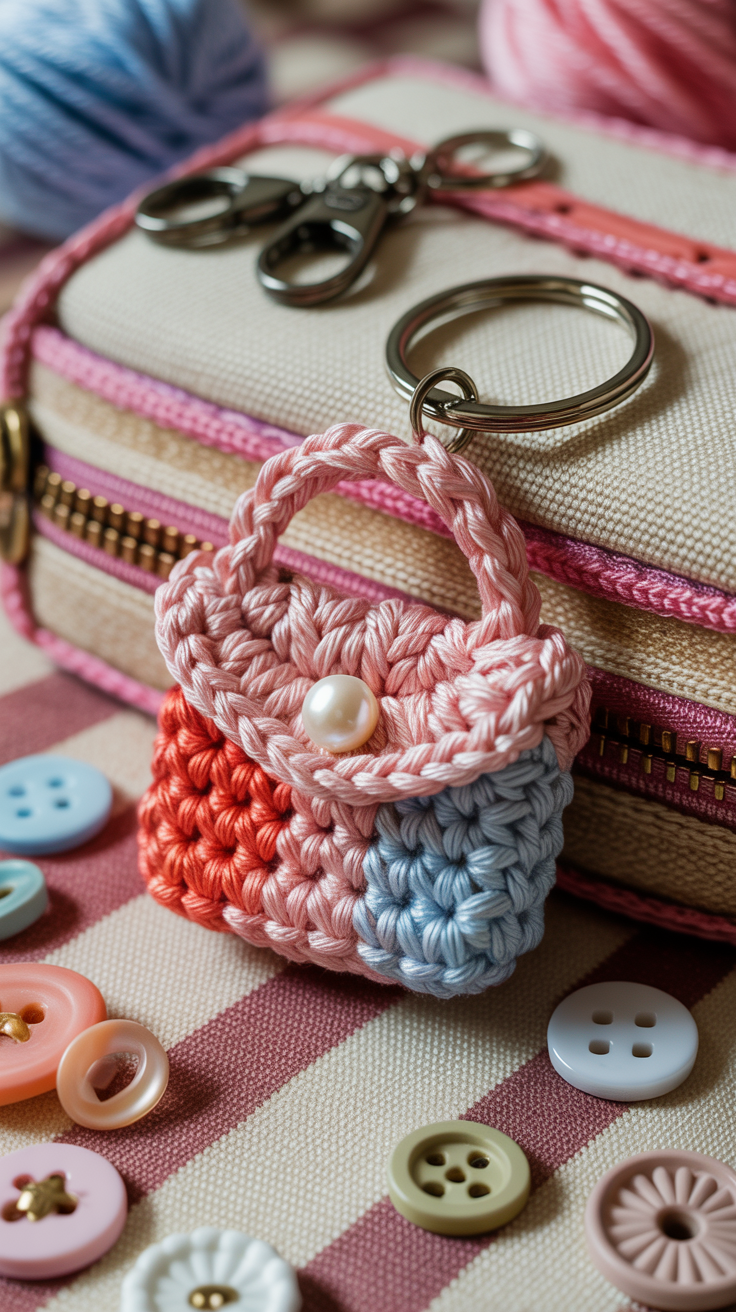
This small bag is not only pretty, but also practical. You can z. B. keep a coin for the shopping cart or a small piece of paper. The project is great for practicing simple shapes while getting a useful result.
Here’s how it works:
- Crochet a rectangle from single crochet stitches (e.g. 12 chain stitches + 10 rows).
- Fold the rectangle in the middle.
- Crochet the two sides together with single crochet stitches.
- Leave the top edge open as a ‘pocket opening’.
- Crochet a tab with 6-8 chain stitches on one side and attach a small button.
- Crochet a chain stitch chain as a hanger.
- Pull the key ring through.
💡 Tip: Use solid cotton yarn to keep the bag in shape.
8th letter as key ring

A crocheted letter is a real eye-catcher – individual, personal and perfect as a gift. You will learn how to crochet and work out clean edges. Especially nice: You can adjust the colors depending on your personality or your favorite style.
Here’s how it works:
- Choose a letter (e.g. A, M, S) and draw a small template.
- Crochet chain stitches in the right length.
- Work on the letter with single stitches.
- Crochet two equal parts and place them on top of each other.
- Sew or crochet together and fill in lightly.
- Close the seam.
- Crochet a suspension and attach the key ring.
💡 Tip: With bold colors, the letter looks particularly lively.
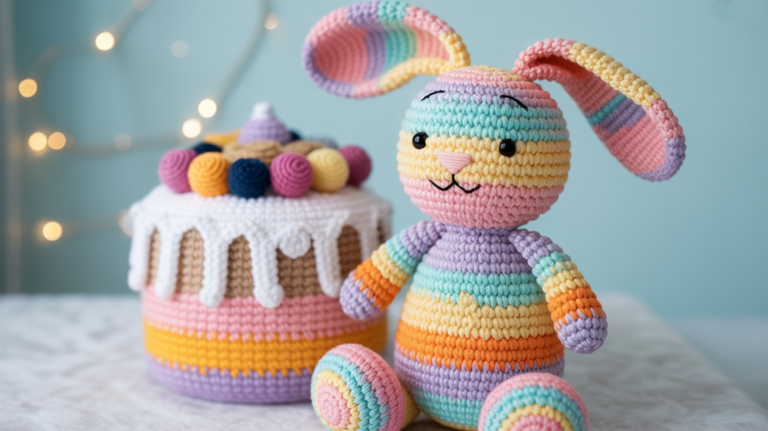
9. Mini Animal Keyring
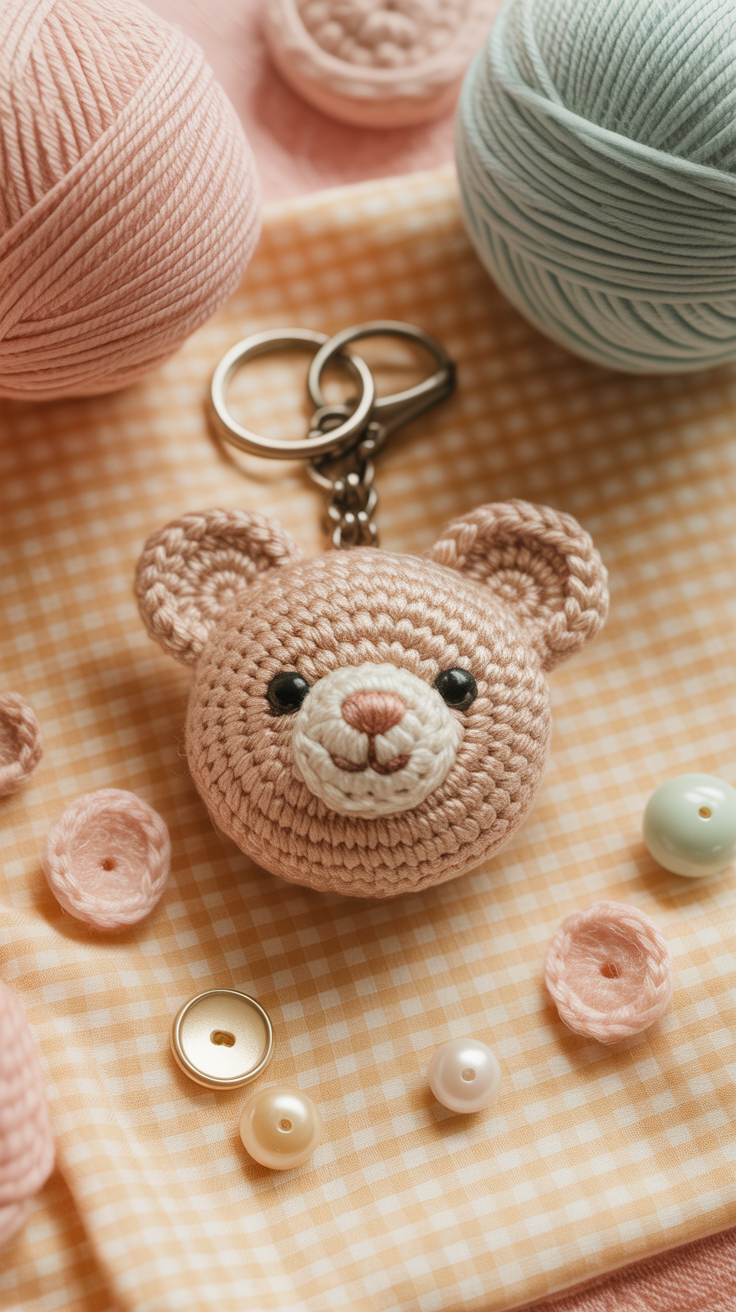
Whether bear, cat or rabbit – small crocheted animals are real favorites. This project teaches you the basics of amigurumi crochet. You practice balls, ears, small details and the safe sewing of individual parts.
Here’s how it works:
- Crochet a ball with single crochet stitches in spiral rounds.
- Fill them lightly with cotton wool.
- Crochet two small ears (e.g. 4 chain stitches, then single stitches back).
- Sew the ears to the side of the head.
- Embroider with black yarn eyes and a small nose.
- Crochet a loop above.
- Pull the key ring through and secure the suspension.
💡 Tip: Less is more – little faces look particularly sweet when they stay simple.
10. Boho Style Fringe Keyring
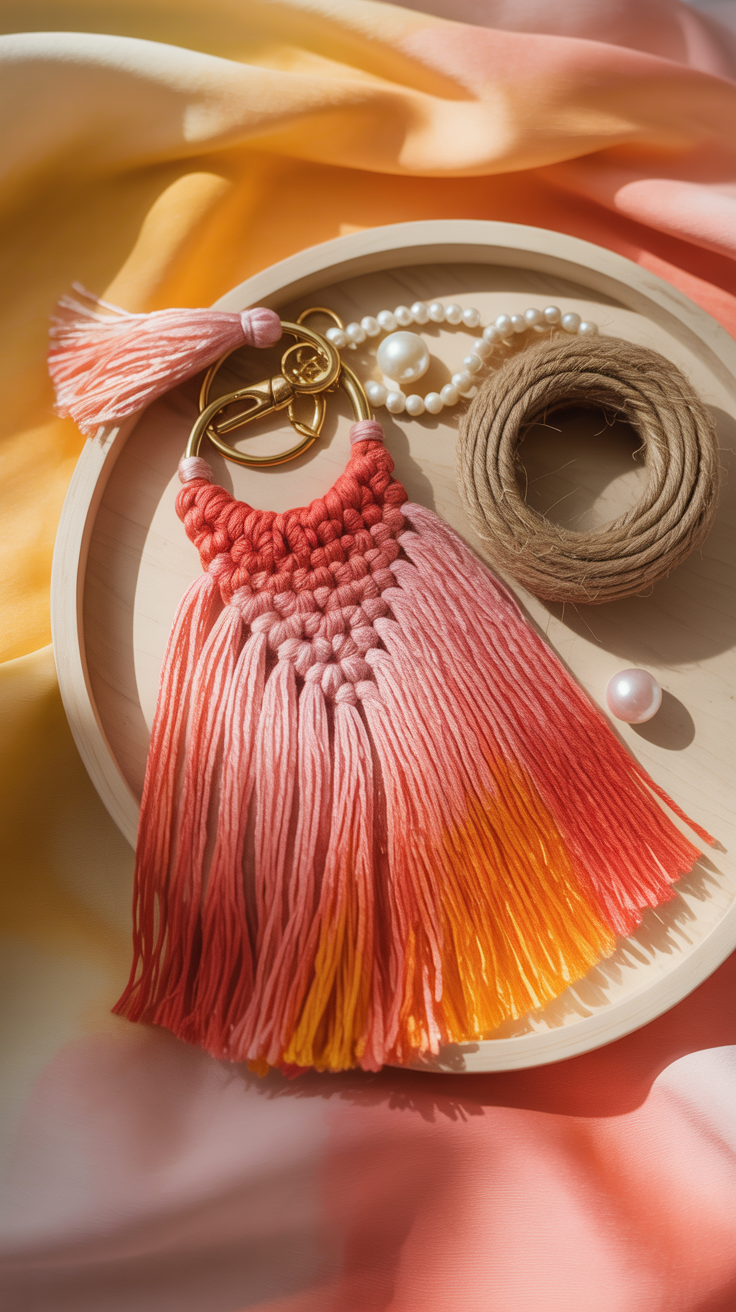
Do you like it loose, playful and a little more modern? Then this fringe pendant is just right. You don’t need any complicated stitches – just a little patience when pulling in the threads. The result is perfect for bags, backpacks or as decoration for gifts.
Here’s how it works:
- Crochet a small rectangle (approx. 5 rows of single crochet stitches).
- Cut woolen threads about 10-12 cm in length.
- Fold each thread in half.
- Pull the loop through the lower edge of the rectangle.
- Thread the ends through the loop and tighten them.
- Repeat until the edge is thickly covered with fringes.
- Comb the fringes lightly and shorten them to a length.
- Crochet a loop on the top and secure the key ring.
💡 Tip: Use recycled cotton or yarn leftovers – that makes the look even more exciting.
Common mistakes when crocheting key rings – and how to avoid them
Especially with small projects such as key rings, every stitch error is noticeable quickly. But don’t worry: most beginner mistakes can be easily avoided – or even undone. Here you will find typical stumbling blocks and simple solutions to make your crocheted pendants beautifully even and stable.
1. The key fob becomes crooked or misshapen
This is often due to the fact that the stitches have not been crocheted evenly or have gotten mixed up when counting.
➡️ Solution:
Count your stitches regularly – especially with rounds and spiral crochet. Use stitch markers to mark the beginning of a round. Also, make sure you work with even thread tension.
2. The filling presses outwards
If you work with cotton wool and the stitches are too loose, the filling slightly pushes through the gaps.
➡️ Solution:
Take a smaller crochet hook or crochet a little tighter. The surface should be dense enough that nothing shines through. Test this briefly before you start filling.
3. The key ring comes loose or sits too loose
Safe suspension is particularly important for trailers that are often used.
➡️ Solution:
Crochet a sturdy loop of crochet stitches and make sure it’s tight enough. Alternatively, you can crochet the ring directly or secure it with a few additional single crochet stitches.
4. Thread ends come loose after a short time
Threads that are not sewn or cut too short can come loose quickly – especially with key rings that are used daily.
➡️ Solution:
Using a blunt wool needle, pull the threads through the back of the crochet piece several times. For extra support, you can easily fix the end with a drop of textile glue (but really only very little!).
5. The shape does not look symmetrical
Unclean acceptances or incorrectly placed stitches can distort the shape of your pendant.
➡️ Solution:
Work particularly cleanly in acceptance. It is best to use the ‘invisible decrease’ (crochet two front mesh links together) to create smoother transitions. Check the shape regularly when crocheting.
6. The trailer becomes too big or too heavy
If you use too thick yarn or large needles, the keychain will quickly become chunky and heavy.
➡️ Solution:
Use thinner cotton yarn (e.g. thickness 2 or 3) and a matching needle. This makes the trailer light and handy – perfect for on the go.
Crochet key ring – small projects with big impact
Crocheting keychains is much more than just a quick DIY. They are small, loving projects that show you how much joy is in the details. You don’t need big equipment, no complicated techniques – just some yarn, a crochet hook and a few quiet minutes.
Whether heart, flower, ball or mini animal: every pendant is unique. You learn new stitches, practice clean work and also get a nice result in your hand. Especially nice: Many of these ideas are also perfect as a gift or a small gift in between.
So if you feel like getting creative without starting a big project right away then grab your favorite yarn, choose one of the ideas and get started.
With every stitch, not only your pendant grows, but also your joy of crocheting.
And who knows – maybe a small keychain will soon become a whole collection of homemade favorite pieces.